
|
Do it yourself
| |||
| ||||


How to Remove the Door Panel of an Opel Zafira?
Model: Vauxhall Zafira
Zafira B, A05, MK 2
- Years 2005-2011
Before starting, ensure you have a Torx screwdriver on hand. Begin by unscrewing all the screws that secure the panel. The first two screws are located on the sides of the door panel; to access the third, you will need to remove the cover using a thin but reasonably sturdy object. Once this cover is removed, you will have access to the other two screws, which you will then unscrew. The last screw can be found behind the internal opening handle, but it is also hidden by a protective plastic cover. This protective cover has a small slot where you can insert a flathead screwdriver to lever it off. Proceed to unscrew the last screw. Now, detach the door from the clips using the tool you used earlier, but be careful of the internal wiring. Before completely removing the panel, ensure the window is fully down. Once confirmed, simply lift the panel upwards. Before moving it away, disconnect the connector that links the door controls. At this point, you will have removed the door panel.
Updated on 18 April 2026 by ScegliAuto
Video tutorial
Related tutorials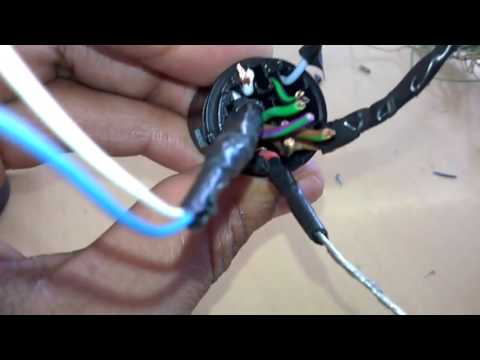
Vauxhall Zafira
(2005-2011 /
Zafira B, A05, MK 2)
In this brief and simple guide, you will learn how to remove the front door panel and lock of the Opel Zafira B. First, open the door and start by re…
Vauxhall Zafira
(1999-2005 /
Zafira A, MK 1, T98)
To remove the right rear door panel on Opel Zafira (first series), follow these steps: disconnect the battery terminals located in the engine bay, us…
Vauxhall Zafira
(2005-2011 /
Zafira B, A05, MK 2)
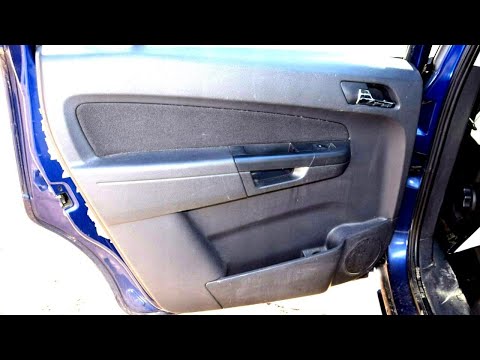
Today, we will discover the procedure to remove and replace the front door panel on the Opel Zafira. First, open the front door and start by removing…
Other guides you may be interested in
|
How to Check the Oil Level on a Jeep Renegade?
To check the oil level on a Jeep Renegade, you need to open the bonnet to access the components inside the engine bay: on the lower left side of the engine block, you will find the dipstick for checking the level. This should be pulled out and thoroughly cleaned with a cloth: once cleaned, reinsert it back into its tube and pull it out immediately after. This way, you can check that the oil mark is between the minimum and maximum levels; finally, you can place the dipstick back in its tube. by ScegliAuto More videos
|

|
For advertising on this site Write to info@scegliauto.com
ScegliAuto is not responsible for any inaccuracy of the data in the lists. To report any inaccuracy or your business (if you own the business in question), please write to info@scegliauto.com
Number of seconds to generate the page: 0.251
(c) ScegliAuto 2026 - info@scegliauto.com - Privacy policy VAT number: IT01247470535 |
