
|
Do it yourself
| |||
| ||||


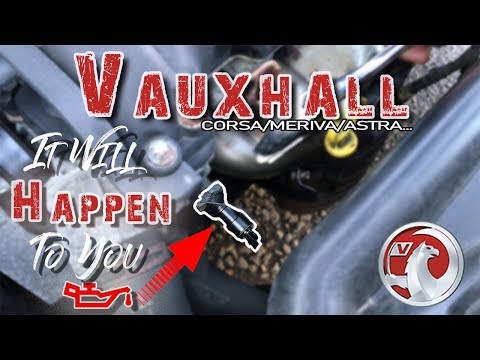
How do you clean the LPG pressure sensor on the Opel Corsa D?
Model: Vauxhall Corsa
Corsa D
- Years 2006-2014
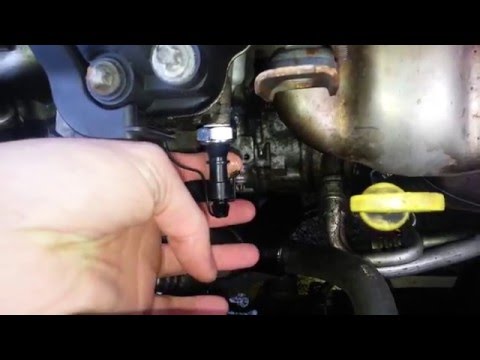
In order to clean the Opel Corsa D LPG pressure sensor, you need to open the hood to access the engine compartment and locate the sensor in question: this is located on the side of the engine which is immediately above its cover. It will be necessary to detach its pin and loosen the 10 fixing bolt in order to remove the sensor from its housing. Once removed, it will need to be cleaned with electrical contact cleaner, possibly in a spray can. After cleaning, it will be possible to insert the sensor again, connecting it to the connector and fixing it with its bolt.
Posted on 8 June 2022 by ScegliAuto
Video tutorial
Related tutorials
Vauxhall Corsa
(2006-2014 /
Corsa D)
In order to replace the oil pressure sensor on the Opel Corsa, you need to open the hood so that you have access to the components inside the engine …
Vauxhall Corsa
(2006-2014 /
Corsa D)
In this tutorial, we can see how to replace the engine oil pressure sensor in the Opel Corsa, an extremely simple and fast operation. First of all, m…
Vauxhall Corsa
(2006-2014 /
Corsa D)
Let's see how to remove the oil pressure sensor on Opel Corsa. Let's unlock the front hood, lift it up and put it in safety. We locate the sensor loc…
Other guides you may be interested in
|
Frequently Asked QuestionsRemoving the Timing Belt on a Suzuki Vitara
In this video, see the removal and replacement of the timing belt and water pump on a Suzuki Vitara. Open the bonnet and lift it, securing it in place. Use a socket wrench to remove the cooling radiator along with the associated hoses. Disconnect the power wiring using pliers, and remove the plastic undertray with a screwdriver. Use a spanner to loosen the tensioner pulley and slide the belt off its seat. Use a socket wrench to unscrew the tensioner pulley bolt, and remove the water pump as shown in the video. Fit the new water pump, the tensioner, and the belt itself, tightening everything with the socket wrench. Finally, reinstall the radiator with the securing bolts. by ScegliAuto More videos
|

|
For advertising on this site Write to info@scegliauto.com
ScegliAuto is not responsible for any inaccuracy of the data in the lists. To report any inaccuracy or your business (if you own the business in question), please write to info@scegliauto.com
Number of seconds to generate the page: 0.062
(c) ScegliAuto 2026 - info@scegliauto.com - Privacy policy VAT number: IT01247470535 |