
|
Do it yourself
| |||
| ||||


How to Set the Profile Picture on Opel Crossland-X
Model: Vauxhall Crossland X
MK 1
- Years 2017-2024
In this video, learn how to set the profile picture on the screen of the Opel Crossland-X. You will need a USB stick with some images saved on it, which you will insert into the USB port. The USB stick must be formatted in FAT32, which is the only format the Navi can handle. Once the USB stick is inserted, click on "options", then "profiles", and select your personal profile. Find your image, click on it, and browse through the various photos you have uploaded to your USB stick, which accepts .BMP, .gif, .jpeg, and .png formats. Choose your preferred photo, select it with the tick, and now your chosen photo will appear on your profile. You can now remove the USB stick.
Updated on 25 July 2026 by ScegliAuto
This video is currently unavailable
Related tutorials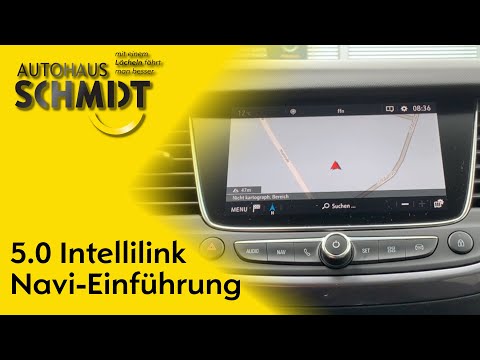
Vauxhall Crossland X
(2017-2024 /
MK 1)
Today's guide shows how to set up and programme the navigation on the multimedia system of the Opel Crossland X, as well as the Grandland X. First, g…

Vauxhall Crossland X
(2017-2024 /
MK 1)
Today we will discover the instructions that will allow us to change the language of the multimedia system of the Opel Crossland, in simple and quick…
Vauxhall Crossland X
(2017-2024 /
MK 1)
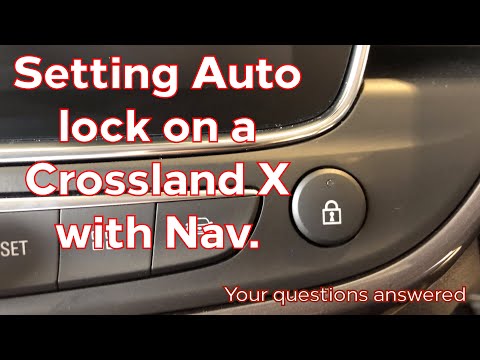
In this video, you can see how to set the automatic door locking function from inside an Opel/Vauxhall Crossland-X with navigation. This is a very si…
Other guides you may be interested in
|
How to Bleed the Clutch on a Renault Clio?
To bleed the clutch on a Renault Clio, open the bonnet to access the components located in the engine bay: here, you will need to undo the screws that secure the battery in its housing, the intake manifold, and the coolant reservoir. This will allow you to locate the pipe through which the brake fluid flows: by inserting the other end of the pipe into a container, you can press the clutch pedal to expel all the fluid until it fills the container. by ScegliAuto More videos
|
|
For advertising on this site Write to info@scegliauto.com
ScegliAuto is not responsible for any inaccuracy of the data in the lists. To report any inaccuracy or your business (if you own the business in question), please write to info@scegliauto.com
Number of seconds to generate the page: 0.264
(c) ScegliAuto 2026 - info@scegliauto.com - Privacy policy VAT number: IT01247470535 |
