
|
Do it yourself
| |||
| ||||


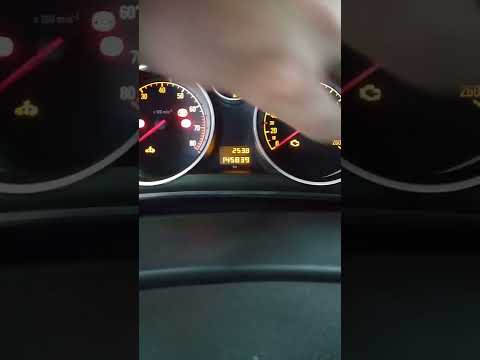
What does the warning light with a wrench and a car indicate in the Opel Astra?
Model: Vauxhall Astra
Astra K
- Years 2015-2022
If the wrench and car symbol on the instrument panel of our Opel Astra has lit up, it means that it is time to get the scheduled maintenance done as we have reached the necessary milestone. Once we have done this at our trusted workshop, we can remove the warning light by following the procedure shown in this tutorial. First, let's go inside the car, then turn on the instrument panel and use the "MENU" button on the left lever to access the vehicle information screen. Next, scroll through the various options, find the relevant service option, and perform the reset by pressing the "SET/CLR" button.
Posted on 24 November 2023 by ScegliAuto
Video tutorial
Related tutorials
Vauxhall Astra
(2009-2016 /
Astra J)
The Service indicator that appears on the instrument panel of the Opel Astra can be reset by turning the key so that the instrument panel lights up: …

Vauxhall Astra
(2009-2016 /
Astra J)
When the error code 24 appears on the display when starting the 2014 Opel Astra, it means that one of the bulbs in the electrical system needs to be …
Vauxhall Astra
(2004-2010 /
Astra H)
If the dashboard of our Opel Astra has the warning light depicting a car and a wrench turned on, it means that it is time to perform the scheduled ma…
Other guides you may be interested in |
Frequently Asked QuestionsHow to Remove the Heating Radiator on a Fiat Panda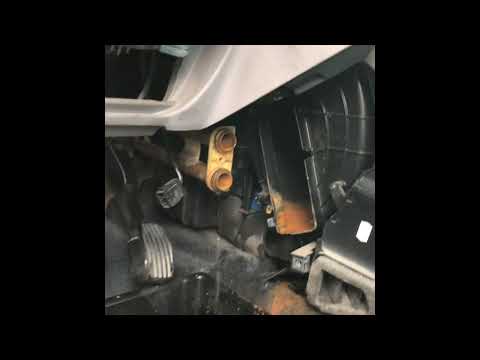
Watch this video to learn how to remove the heating radiator from a Fiat Panda. First, remove the plastic cover from the centre tunnel (located under the centre tunnel) and the cover around the gearbox. Unscrew the securing screws with a screwdriver as shown in the video and remove the black plastic cover that conceals the heating radiator. Once all the steps are completed, move to the engine bay: remove the plastic engine cover and disconnect the two hoses (unscrew the securing clips) of the radiator that extends into the cabin. Install the new part. Reverse all the assembly steps. by ScegliAuto More videos
|

|
For advertising on this site Write to info@scegliauto.com
ScegliAuto is not responsible for any inaccuracy of the data in the lists. To report any inaccuracy or your business (if you own the business in question), please write to info@scegliauto.com
Number of seconds to generate the page: 0.049
(c) ScegliAuto 2026 - info@scegliauto.com - Privacy policy VAT number: IT01247470535 |