
|
Do it yourself
| |||
| ||||



How to Install the Reversing Camera on the Opel Insignia MK1
Model: Vauxhall Insigna
MK 1, Insigna A
- Years:
2008, 2009, 2010, 2011, 2012, 2013, 2014, 2015, 2016, 2017
Video tutorial
In this video, you can see how to install the reversing camera on the Opel Insignia MK1; it is not difficult, but it requires a bit of patience. First, locate the spot to mount the camera, which is next to the number plate light. Drill a small hole and then pass the wire through the thickness of the rear hatch, from which you will have removed the plastic cover. The wire will run along the passenger side, following the trim that will be removed - these are snap-fit pieces, so they are easy to take off - then pass it under the scuff plate of the rear door, then the front one, until you reach the dashboard, where you will need to remove the lower part. Next, reach the back of the car tablet; here, connect the camera cable to the other video connector. Very important: take the power from the headlamp, which is removed from the inside, while from the outside, just pull it and it comes off. The YouTuber indicates the reverse light from which we will take the power according to the diagram he explains (red with green and black with black).
Updated on 8 October 2026 by ScegliAuto
Related tutorials
Vauxhall Insigna
(2008-2017 /
MK 1, Insigna A)
All the fuse boxes of the Opel Insignia contain the fuses that regulate the operation of the devices present in the vehicle: in this type of car, you…
Vauxhall Insigna
(2008-2017 /
MK 1, Insigna A)
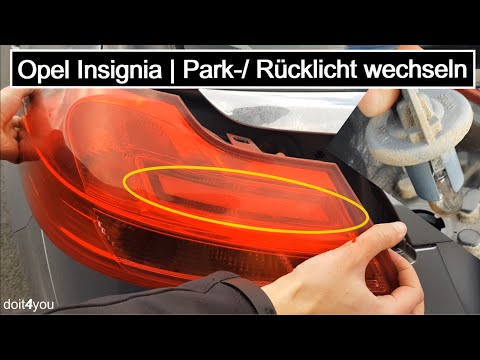
To remove the rear light on an Opel Insignia, open the tailgate to access the boot. Here, remove the carpet cover located near the light to be replac…
Vauxhall Insigna
(2008-2017 /
MK 1, Insigna A)
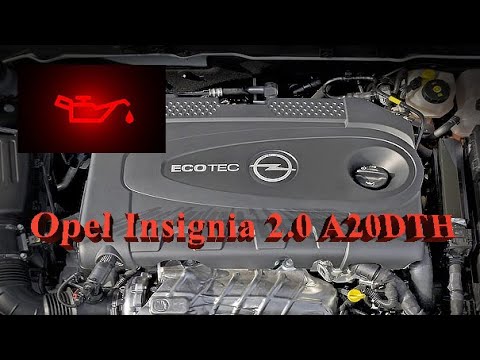
In this video, you can see the consequences of low oil pressure on the engine of an Opel Insignia 2.0 with an A20DTH engine. A small rubber seal inst…
Other guides you may be interested in |
How to Open the Bonnet on the Mitsubishi L200?
In this tutorial, you will see how to open the bonnet on the Mitsubishi L200, a very simple operation that follows the standard procedure. First, open the vehicle and go to the driver's side, then locate the lever at the lower outer area, just in front of the pedals, and pull it. Next, position yourself in front of the bonnet, locate the second lever above the Mitsubishi logo, and push it to the right, releasing the latch. At this point, you can fully lift the bonnet and secure it with the prop rod. by ScegliAuto More videos
|
|
For advertising on this site Write to info@scegliauto.com
ScegliAuto is not responsible for any inaccuracy of the data in the lists. To report any inaccuracy or your business (if you own the business in question), please write to info@scegliauto.com
Number of seconds to generate the page: 0.025
(c) ScegliAuto 2026 - info@scegliauto.com - Privacy policy VAT number: IT01247470535 |
