
|
Do it yourself
| |||
| ||||


Removing the MAP Sensor on Peugeot 206
Model: Peugeot 206
MK 1
- Years 1998-2012
Is the MAP sensor on your Peugeot 206 due for replacement? Let's see how to remove the sensor from inside the engine bay. Lift the front bonnet and secure it with the prop rod. Remove the soundproofing panel to access the sensor located at the rear. Locate the MAP sensor (inside the engine bay under the cables), and using a socket, unscrew the securing bolts (located next to the sensor). Pull the piece out of the engine seat. Install the new piece with the respective securing bolts, and connect the MAP sensor to the wiring system.
Updated on 13 April 2026 by ScegliAuto
This video is currently unavailable
Related tutorials
Peugeot 206
(1998-2012 /
MK 1)
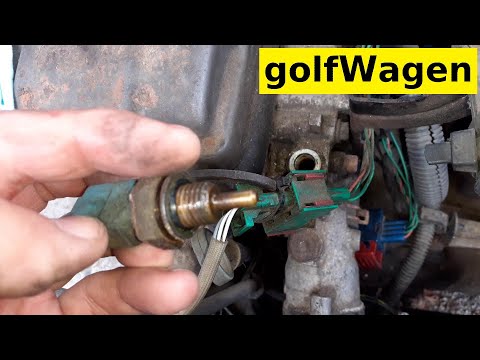
In order to clean the MAP sensor of the Peugeot 206, we open the hood of the engine compartment, disconnect the negative battery terminal. We disconn…
Peugeot 206
(1998-2012 /
MK 1)
How to remove the temperature sensor from a Peugeot 206? Let’s look at removing the sensor from inside the engine bay. Lift the front bonnet of the c…

Peugeot 206
(1998-2012 /
MK 1)
Are you having issues with the temperature sensor? Here’s how to remove the temperature sensor on a Peugeot 206. Lift the front engine bonnet. Discon…
Other guides you may be interested in
|
Frequently Asked QuestionsHow to Repair the Key Spring of the Peugeot 207?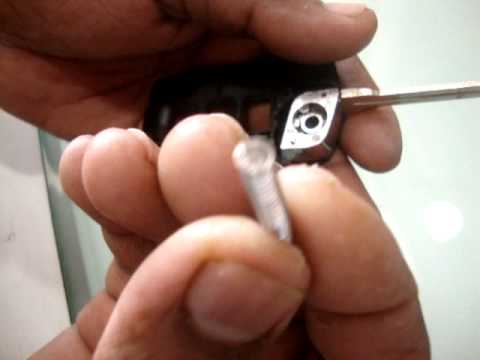
Over time, frequent use of the key's flip mechanism in the vehicle, dozens of times a day, inevitably leads to wear of the internal spring. As shown in this video, replacing the spring is quite simple and takes little time. After opening the casing halfway, first position the key, then the spring housing, and finally insert the spring into the previously mentioned housing. Close the casing by rotating it clockwise, ensuring all components fit perfectly, and test the key's flip mechanism. by ScegliAuto More videos
|
For advertising on this site Write to info@scegliauto.com
ScegliAuto is not responsible for any inaccuracy of the data in the lists. To report any inaccuracy or your business (if you own the business in question), please write to info@scegliauto.com
Number of seconds to generate the page: 0.086
(c) ScegliAuto 2026 - info@scegliauto.com - Privacy policy VAT number: IT01247470535 |
