
|
Do it yourself
| |||
| ||||


Replacement of the Engine Cylinder Head Gasket
Model: Peugeot 206
MK 1
- Years:
1998, 1999, 2000, 2001, 2002, 2003, 2004, 2005, 2006, 2007, 2008, 2009
Video tutorial
The operation of replacing the gasket is very delicate and requires special equipment, so it is recommended for experienced individuals. Start by removing all elements above the engine to facilitate the disassembly of the valve cover. Remove the engine covers, the electrical connections of the spark plugs, the spark plugs themselves, the intake manifold, the timing chain cover, and everything connected to the cover, carefully setting aside the removed elements. At this point, remove all the bolts of the cover and take it off. Replace all rubber gaskets and install the new gasket, ensuring it adheres properly. Clean the cylinder head thoroughly where the gasket will adhere. Carefully reassemble the cover and all previously removed elements.
Updated on 8 February 2026 by ScegliAuto
Related tutorials
Peugeot 206
(1998-2012 /
MK 1)
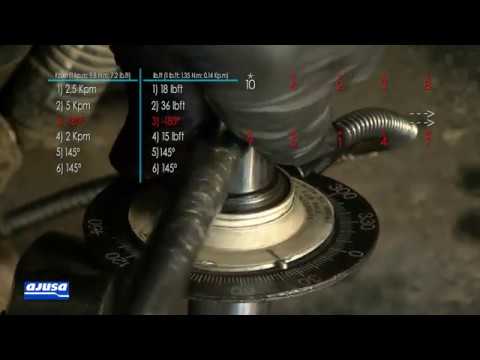
Today's guide will show you the main steps useful for disassembling and replacing the cylinder head gasket on the Peugeot 206 1.4. First, open the bo…
Peugeot 206
(1998-2012 /
MK 1)
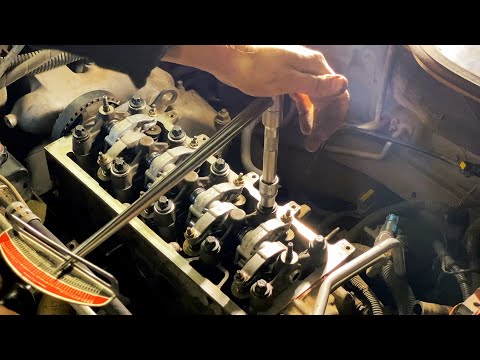
The procedure for replacing the head gasket on the Peugeot 206 involves loosening the screws that secure the coils and spark plugs at the top of the …
Peugeot 206
(1998-2012 /
MK 1)
This video tutorial shows how to remove the engine cylinder head and its gasket from a Peugeot 206 with a 1.4 petrol engine. First, open the bonnet a…
Other guides you may be interested in
|
How to Replace the Glow Plugs in the Fiat Ducato 2.3 Multijet?
Glow plugs, as the name suggests, raise the temperature of the engine in diesel vehicles to allow for easier starting. The manufacturer, in this case, Fiat for the Ducato 2.3 Multijet, specifies how often they should be replaced, and a warning light will illuminate when it's time. This work is carried out under the bonnet. First, remove the upper engine cover, then lift the coil and, using a socket wrench of the appropriate size, unscrew the glow plug to remove it from the base, followed by installing the new one. by ScegliAuto More videos
|
|
For advertising on this site Write to info@scegliauto.com
ScegliAuto is not responsible for any inaccuracy of the data in the lists. To report any inaccuracy or your business (if you own the business in question), please write to info@scegliauto.com
Number of seconds to generate the page: 0.038
(c) ScegliAuto 2026 - info@scegliauto.com - Privacy policy VAT number: IT01247470535 |
