
|
Do it yourself
| |||
| ||||


How to replace the headlight bulbs in the Dodge RAM 1500
Model: RAM 1500
DR, D1, MK 3, DM, DC, DH
- Years 2002-2009
In this mini guide of ours we will find out how to correctly replace the headlight bulb in the Dodge RAM 1500. Fortunately, this is a rather simple operation and within everyone's reach. It will therefore suffice for you to follow the following indications. First unlock the front hood and raise it completely. Go to the lighthouse containing the bulb to be replaced and unscrew the screws present with a special Torx t30 wrench. Do the same with those on the inside of the wheel trim. At this point, disassemble the headlight, disconnect the electrical connector and remove the old bulb. Replace it with a new one and reconnect the connector. Finally, reposition the headlight and retighten all the various screws.
Posted on 24 February 2022 by ScegliAuto
Video tutorial
Related tutorials
RAM 1500
(1994-2001 /
BE, BR, MK 2)
Let's replace the starter motor of the Dodge RAM 1500 together, following the instructions below. First of all we open the bonnet and we go to discon…
RAM 1500
(1994-2001 /
BE, BR, MK 2)
Let's see in this guide how to remove and replace the buttons or the ignition switch of the front and rear lights of the Dodge RAM 1500. First we get…
RAM 1500
(2002-2009 /
DR, D1, MK 3, DM, DC, DH)
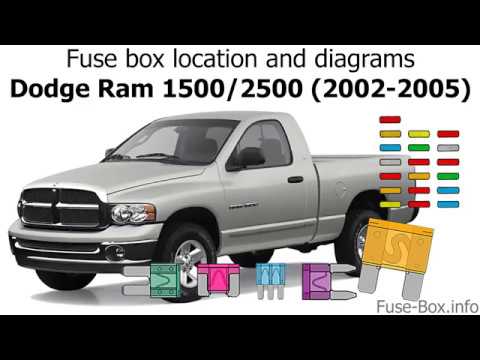
This video shows the location of the fuse boxes in the 2003 Dodge Ram 1500. In addition to the fuse box locations, the video also shows a diagram of …
Other guides you may be interested in
|
How to Replace the Fan Resistor on a Renault Scenic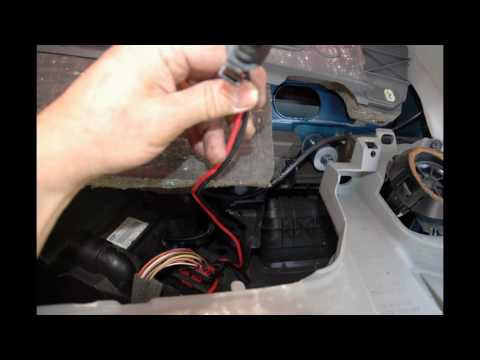
How to replace the fan resistor on a Renault Scenic. In this video, learn how to perform the disassembly: use a lever to remove the plastic under the glove compartment, and unscrew the cover (where the resistor is located) with a screwdriver. Disconnect the large connector of the resistor, then pull it out from the cabin. Insert a new fan resistor (connect the power connector). Finally, refit the cover and tighten the screws. Check the correct assembly of the previously fitted parts and test the correct operation of the fan. by ScegliAuto More videos
|
|
For advertising on this site Write to info@scegliauto.com
ScegliAuto is not responsible for any inaccuracy of the data in the lists. To report any inaccuracy or your business (if you own the business in question), please write to info@scegliauto.com
Number of seconds to generate the page: 0.091
(c) ScegliAuto 2026 - info@scegliauto.com - Privacy policy VAT number: IT01247470535 |