
|
Do it yourself
| |||
| ||||


How to Replace a Bulb on a Ram ProMaster City
Model: RAM Promaster City
MK 1
- Years 2015-2022
If you need to replace a front bulb on a Ram ProMaster City, follow these simple instructions. First, identify which bulb needs replacing (position light, low beam, or turn signal), then open the hood. Inside the headlight, you will notice three rubber covers. The innermost cover towards the hood contains the low/high beam bulb; the middle cover has the position light bulb; and the outermost cover houses the turn signal bulb. Remove the cover corresponding to the bulb you need to replace and turn the socket counterclockwise to extract it. Replace the burnt-out bulb with a new one, screw the socket back in, and close the rubber cover.
Updated on 15 July 2026 by ScegliAuto
Video tutorial
Related tutorials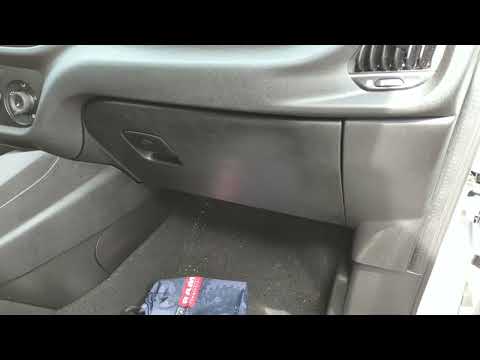
RAM Promaster City
(2015-2022 /
MK 1)
If the cabin air filter in your RAM Promaster City (2015-2022) is excessively worn and you want to know how to replace it, just follow these steps. F…

RAM Promaster City
(2015-2022 /
MK 1)
The fuse boxes of the RAM Promaster City are responsible for containing the fuses that regulate the operation of the devices on the vehicle: in this …

RAM Promaster City
(2015-2022 /
MK 1)
If some devices in our RAM ProMaster City van have suddenly stopped working, we can first check the status of the corresponding fuses whose diagrams …
Other guides you may be interested in
|
How to Replace the Diesel Filter of the Peugeot 3008 1.5 BlueHDI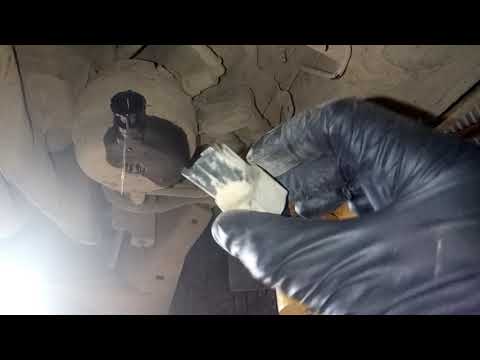
Briefly, we will see the main instructions for dismantling and replacing the diesel filter of the Peugeot 3008 1.5 BlueHDI. First, locate the diesel filter under the vehicle, so it will be necessary to lift it; then disconnect the electrical connector and the fuel lines from the filter, unscrewing the side screws to remove the cartridge, as shown in the video. At this point, replace the diesel filter with the new one, as well as with the original one; then reconnect the pipes and the electrical connector, following the video tutorial to the end! by ScegliAuto More videos
|
|
For advertising on this site Write to info@scegliauto.com
ScegliAuto is not responsible for any inaccuracy of the data in the lists. To report any inaccuracy or your business (if you own the business in question), please write to info@scegliauto.com
Number of seconds to generate the page: 0.238
(c) ScegliAuto 2026 - info@scegliauto.com - Privacy policy VAT number: IT01247470535 |
