
|
Do it yourself
| |||
| ||||


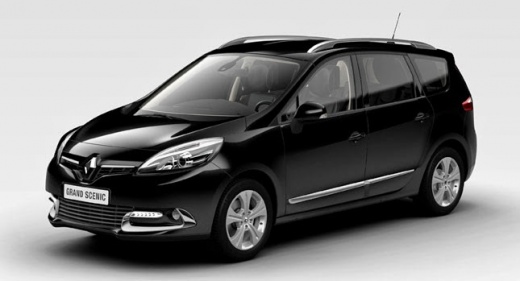
How to Replace the Spare Wheel Support on Renault Grand Scenic MK3
Model: Renault Scenic
MK III, Scenic III, Scenic 3, MK 3
- Years:
2009, 2010, 2011, 2012, 2013, 2014, 2015
Video tutorial
In this video, we can see that on this Renault Grand Scenic MK3, the spare wheel release mechanism seemed stuck, possibly due to incorrect installation. The wheel would not lower despite attempts with the winch. It was found that the support was damaged - it had come loose around the pin - causing dangerous oscillations while driving. The YouTuber attempted to cut the support, but there was a risk of damaging the entire system. Another method was to insert a tool from above, unscrewing the stuck bolt. This way, nothing needs to be cut. Be careful, as once the last bolt is removed, the entire support will fall, so it is better to support it with a prop.
Posted on 15 February 2026 by ScegliAuto
Related tutorials
Renault Scenic
(2009-2015 /
MK III, Scenic III, Scenic 3, MK 3)
The spare wheel in a Renault Grand Scenic is positioned under the lower floor of the car, in the boot area. To access it, open the tailgate and lift …

Renault Scenic
(2009-2015 /
MK III, Scenic III, Scenic 3, MK 3)
In this video we can see where the tools are located to change the wheels on the Renault Scenic III: we open the trunk and move the right rear seat. …

Renault Scenic
(2009-2015 /
MK III, Scenic III, Scenic 3, MK 3)
This guide provides instructions for removing and replacing the rear bumper of the Renault Grand Scenic. First, open the boot lid and begin by removi…
Other guides you may be interested in
|
Frequently Asked QuestionsHow to Remove the Rear Seat of a Hyundai Tucson?
To remove the rear seat of a Hyundai Tucson, follow these steps. Start by moving the front seats to their most forward position to gain space. Next, locate the release lever on the underside of the rear seat, near the floor. Press this lever down while pulling the seat upwards to unlock it from the anchor pins. Once unlocked, tilt the seat upwards and forwards to remove it from its position. Repeat this process for both sides of the rear seat. Be careful of any electrical cables or components that may be connected to the seat during removal. Once the rear seat is removed, the disassembly is complete. by ScegliAuto More videos
|
|
For advertising on this site Write to info@scegliauto.com
ScegliAuto is not responsible for any inaccuracy of the data in the lists. To report any inaccuracy or your business (if you own the business in question), please write to info@scegliauto.com
Number of seconds to generate the page: 0.019
(c) ScegliAuto 2026 - info@scegliauto.com - Privacy policy VAT number: IT01247470535 |
