
|
Do it yourself
| |||
| ||||


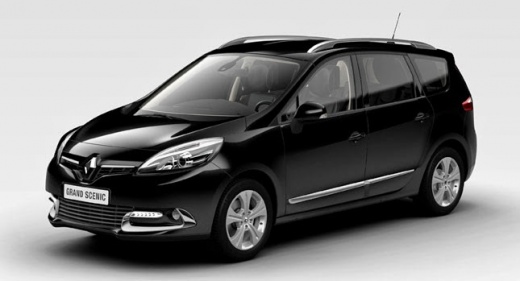
How to Reset the Tyre Warning Light on a Renault Scenic 3
Model: Renault Scenic
MK III, Scenic III, Scenic 3, MK 3
- Years:
2009, 2010, 2011, 2012, 2013, 2014, 2015
Video tutorial
Thanks to the electronic instrumentation, operations like the one mentioned are extremely easy to perform. It all relies on a simple PC equipped with the appropriate software, which, when connected to the vehicle's control unit via cable to the OBD port, allows you to create a connection and adjust all desired parameters. To get an idea, watch the video provided, where you first configure the car model, in this case, the Renault Scenic 3, and then take control of everything, including warning lights, resetting them only after resolving the cause that triggered the alarm.
Posted on 17 February 2026 by ScegliAuto
Related tutorials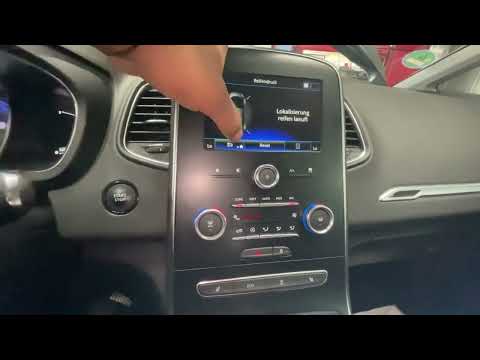
Renault Scenic
(2016-2022 /
Scenic IV, Scenic 4, MK IV, MK 4)
To reset the tyre pressure warning light on the Renault Scenic, first inflate the car's tyres to the correct pressure value: this value is indicated …

Renault Scenic
(2016-2022 /
Scenic IV, Scenic 4, MK IV, MK 4)
If you notice the low tyre pressure warning light on the dashboard of your vehicle, first check the actual tyre pressures and inflate them if necessa…
Renault Scenic
(2016-2022 /
Scenic IV, Scenic 4, MK IV, MK 4)
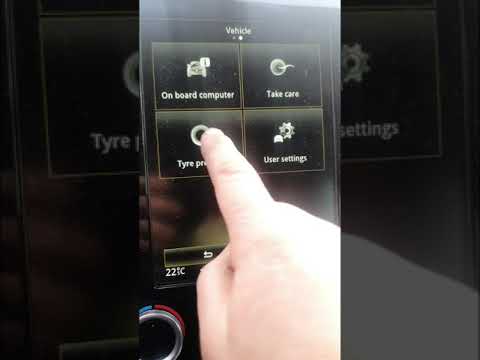
In this tutorial, you will see how to reset the tyre pressure warning light in a Renault Grand Scenic, a very simple and quick operation, to be perfo…
Other guides you may be interested in
|
How to Remove the Rear Seat of a Hyundai Tucson?
To remove the rear seat of a Hyundai Tucson, follow these steps. Start by moving the front seats to their most forward position to gain space. Next, locate the release lever on the underside of the rear seat, near the floor. Press this lever down while pulling the seat upwards to unlock it from the anchor pins. Once unlocked, tilt the seat upwards and forwards to remove it from its position. Repeat this process for both sides of the rear seat. Be careful of any electrical cables or components that may be connected to the seat during removal. Once the rear seat is removed, the disassembly is complete. by ScegliAuto More videos
|
|
For advertising on this site Write to info@scegliauto.com
ScegliAuto is not responsible for any inaccuracy of the data in the lists. To report any inaccuracy or your business (if you own the business in question), please write to info@scegliauto.com
Number of seconds to generate the page: 0.096
(c) ScegliAuto 2026 - info@scegliauto.com - Privacy policy VAT number: IT01247470535 |
