
|
Do it yourself
| |||
| ||||


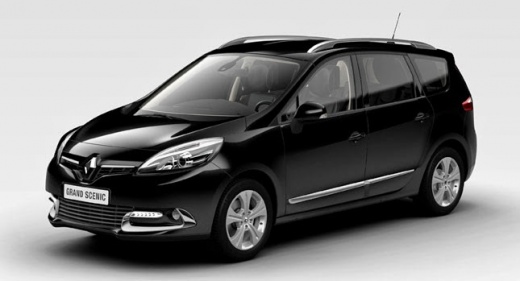
How to adjust the clock of the Renault Scenic 3?
Model: Renault Scenic
MK III, Scenic III, Scenic 3, MK 3
- Years:
2009, 2010, 2011, 2012, 2013, 2014, 2015
Video tutorial
There is no need to contact any service centre or connect external programming devices; you can manage everything yourself in no time. Here’s what to do: turn on the instrument cluster, press the Menu button located on the central tunnel of the vehicle, then select, using the provided joystick, the options Modify Preferences and Clock Adjustment, and finally set the Hours and Minutes using the directional buttons, which are also located in the aforementioned position. Once finished, the procedure is complete, and from this moment on, the clock will retain the modification you made.
Posted on 26 April 2026 by ScegliAuto
Related tutorials
Renault Scenic
(2009-2015 /
MK III, Scenic III, Scenic 3, MK 3)
The moments when we need to adjust the clock in our Renault Scenic, specifically the Renault Scenic 3 in this case, are the transitions from daylight…

Renault Scenic
(2009-2015 /
MK III, Scenic III, Scenic 3, MK 3)
For owners of the Renault Scenic, specifically the Renault Scenic 3, who do not know how to adjust the clock in their vehicle, the correct informatio…

Renault Scenic
(2009-2015 /
MK III, Scenic III, Scenic 3, MK 3)
In the dashboard shown in the video, we can see the section concerning the digital clock of a Renault Scenic third series. Although this is not speci…
Other guides you may be interested in
|
How to Remove the Rear Seat of a Hyundai Tucson?
To remove the rear seat of a Hyundai Tucson, follow these steps. Start by moving the front seats to their most forward position to gain space. Next, locate the release lever on the underside of the rear seat, near the floor. Press this lever down while pulling the seat upwards to unlock it from the anchor pins. Once unlocked, tilt the seat upwards and forwards to remove it from its position. Repeat this process for both sides of the rear seat. Be careful of any electrical cables or components that may be connected to the seat during removal. Once the rear seat is removed, the disassembly is complete. by ScegliAuto More videos
|
|
For advertising on this site Write to info@scegliauto.com
ScegliAuto is not responsible for any inaccuracy of the data in the lists. To report any inaccuracy or your business (if you own the business in question), please write to info@scegliauto.com
Number of seconds to generate the page: 0.056
(c) ScegliAuto 2026 - info@scegliauto.com - Privacy policy VAT number: IT01247470535 |
