
|
Do it yourself
| |||
| ||||


How to Adjust the Clock on the Renault Scenic 3
Model: Renault Scenic
Scenic 3, MK 3, MK III, Scenic III
- Years 2009-2015
With the transition from daylight saving time to standard time and vice versa, you may need to adjust the clock on your Renault Scenic 3, as reviewed in the attached video. If you don't know how to do it, here's how: turn on the instrument panel, use the buttons located behind the gear lever to access the Settings on the monitor installed on the dashboard, select the Clock option from the proposed list, and intuitively adjust both the Hours and Minutes. Once the operation is complete and the changes saved, you can turn off the ignition.
Posted on 10 May 2026 by ScegliAuto
Video tutorial
Related tutorials
Renault Scenic
(2009-2015 /
Scenic 3, MK 3, MK III, Scenic III)
To set the clock of the Renault Scenic 3 we need to: -turn on the car's on-board computer; -press the Menu button located on the lower dashboard; -us…

Renault Scenic
(2009-2015 /
Scenic 3, MK 3, MK III, Scenic III)
In order to adjust the clock displayed on the instrument panel of the Renault Scenic, it will be necessary to press and hold the button located to th…

Renault Scenic
(2009-2015 /
Scenic 3, MK 3, MK III, Scenic III)
The moments when we need to adjust the clock in our Renault Scenic, specifically the Renault Scenic 3 in this case, are the transitions from daylight…
Other guides you may be interested in
|
How to Replace the Diesel Filter of the Peugeot 3008 1.5 BlueHDI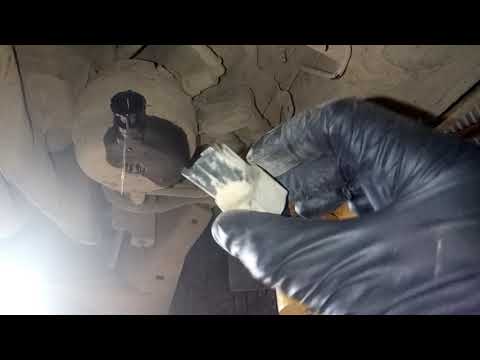
Briefly, we will see the main instructions for dismantling and replacing the diesel filter of the Peugeot 3008 1.5 BlueHDI. First, locate the diesel filter under the vehicle, so it will be necessary to lift it; then disconnect the electrical connector and the fuel lines from the filter, unscrewing the side screws to remove the cartridge, as shown in the video. At this point, replace the diesel filter with the new one, as well as with the original one; then reconnect the pipes and the electrical connector, following the video tutorial to the end! by ScegliAuto More videos
|

|
For advertising on this site Write to info@scegliauto.com
ScegliAuto is not responsible for any inaccuracy of the data in the lists. To report any inaccuracy or your business (if you own the business in question), please write to info@scegliauto.com
Number of seconds to generate the page: 0.116
(c) ScegliAuto 2026 - info@scegliauto.com - Privacy policy VAT number: IT01247470535 |
