
|
Do it yourself
| |||
| ||||


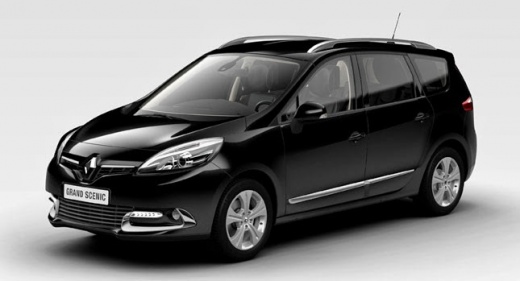
A Solution for the Damaged Radio Buttons of the Renault Scenic III
Model: Renault Scenic
MK III, Scenic III, Scenic 3, MK 3
- Years:
2009, 2010, 2011, 2012, 2013, 2014, 2015
Video tutorial
If the radio buttons on the Renault Scenic III are damaged or faded, you can purchase a sticker kit on Amazon. It can be found on Amazon with the code B07WDH35HP for £2.99, plus delivery charges of £2.99. This sticker kit contains adhesive films with the symbols of the buttons. They are applied over the old ones to restore their appearance (obviously if the problem is only aesthetic). Purchase the sticker kit, clean the surface of the old buttons thoroughly (isopropyl alcohol is recommended, also available on Amazon with the code B09HSKT724 for £6.49 plus £5.90 delivery charges) to remove dirt and grease, peel the sticker from the sheet and apply it over the corresponding button, pressing firmly to ensure adhesion.
Posted on 31 May 2026 by ScegliAuto
Related tutorials
Renault Scenic
(2009-2015 /
MK III, Scenic III, Scenic 3, MK 3)
One of the reasons for deciding to replace the original radio in your car is to update the vehicle's equipment with more recent and technologically a…
Renault Scenic
(2009-2015 /
MK III, Scenic III, Scenic 3, MK 3)
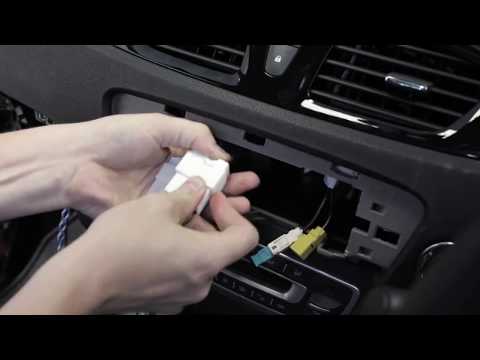
Replacing the stereo on a Renault Scenic and installing a new one? Let’s disassemble the radio and see how to do it. Remove the trim around the stere…

Renault Scenic
(2009-2015 /
MK III, Scenic III, Scenic 3, MK 3)
After replacing the engine oil on the Renault Megane Scenic III, you must reset the notification system that reminds you to perform this important op…
Other guides you may be interested in |
How to Remove the Rear Seat of a Hyundai Tucson?
To remove the rear seat of a Hyundai Tucson, follow these steps. Start by moving the front seats to their most forward position to gain space. Next, locate the release lever on the underside of the rear seat, near the floor. Press this lever down while pulling the seat upwards to unlock it from the anchor pins. Once unlocked, tilt the seat upwards and forwards to remove it from its position. Repeat this process for both sides of the rear seat. Be careful of any electrical cables or components that may be connected to the seat during removal. Once the rear seat is removed, the disassembly is complete. by ScegliAuto More videos
|
|
For advertising on this site Write to info@scegliauto.com
ScegliAuto is not responsible for any inaccuracy of the data in the lists. To report any inaccuracy or your business (if you own the business in question), please write to info@scegliauto.com
Number of seconds to generate the page: 0.008
(c) ScegliAuto 2026 - info@scegliauto.com - Privacy policy VAT number: IT01247470535 |
