
|
Do it yourself
| |||
| ||||


Dismantling the Instrument Cluster to Replace a Bulb
Model: Renault Clio
Clio 2, MK 2
- Years 1998-2005
Removing the entire instrument cluster is a straightforward but not quick task. To avoid damaging plastic parts during removal and installation, place a cloth or something similar on the steering column. Remove the various plastic covers until you reach the base of the cluster, which hides the three fixing screws. Remove the three screws and, with great care, pull the entire instrument cluster outwards, being mindful of the various connectors at the back. Carefully disconnect all connectors to avoid tearing any wires. Replace the faulty bulb and reassemble the instrument cluster in reverse order. Check that everything works perfectly.
Updated on 6 February 2026 by ScegliAuto
Video tutorial
Related tutorials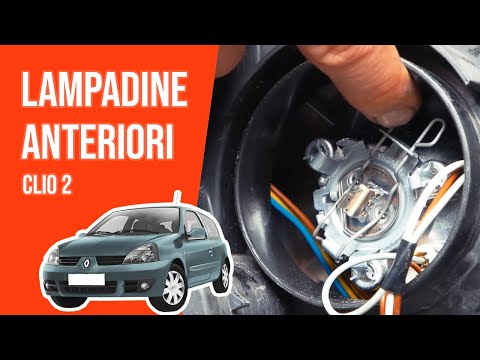
Renault Clio
(1998-2005 /
Clio 2, MK 2)
Before you can start, open the front bonnet of your Renault Clio. Begin by unclipping and removing the rear cover of the blown bulb. Next, disconnect…
Renault Clio
(2005-2013 /
MK 3, Clio 3, Clio III)
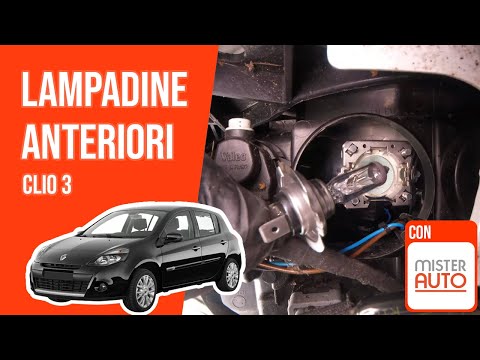
Before you begin, open the front bonnet of your Renault Clio. Start by prising off and removing the inner cover of the blown bulb. Next, disconnect t…
Renault Clio
(1998-2005 /
Clio 2, MK 2)
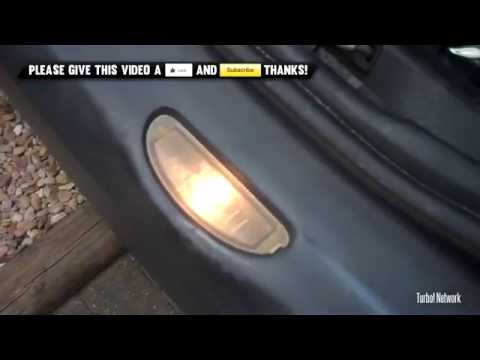
Learn how to replace the bulb that illuminates the number plate on the Renault Clio. The number plate light is located in the rear bumper, so let's p…
Other guides you may be interested in
|
How to Replace the Remote Battery for the Volvo XC40?
In this tutorial, you will see how to replace the battery in the remote for the Volvo XC40, a very simple and quick operation. For this, you will need a replacement battery of type CR2032 and possibly a small flathead screwdriver. First, remove the front cover by pressing the button on the metal ring, then locate the second button, press it as well, and remove the opposite cover. Next, open the circular cap, take out the old battery, and insert the new one in the opposite direction. Finally, reassemble everything. by ScegliAuto More videos
|
|
For advertising on this site Write to info@scegliauto.com
ScegliAuto is not responsible for any inaccuracy of the data in the lists. To report any inaccuracy or your business (if you own the business in question), please write to info@scegliauto.com
Number of seconds to generate the page: 0.066
(c) ScegliAuto 2026 - info@scegliauto.com - Privacy policy VAT number: IT01247470535 |
