
|
Do it yourself
| |||
| ||||


What is Needed to Remove the Fuel Filter on the Renault Twingo 1?
Model: Renault Twingo
Twingo 1
- Years 1993-2007
Replacing the fuel filter on the first series Renault Twingo is a straightforward task that requires few tools, including a special pliers designed to loosen the clips securing the hoses to the filter. Start by opening the fuel tank cap, lift the car on a ramp, and locate the fuel filter, which is easily identifiable. After cleaning it with a multi-purpose spray cleaner, remove one of the two screws from the clamp holding the filter and use the pliers to loosen the clips on both hoses. Allow the fuel to drain into a collection container. Finally, install the new filter, ensuring the clips are secure, and reinsert it into its housing.
Updated on 26 April 2026 by ScegliAuto
Video tutorial
Related tutorials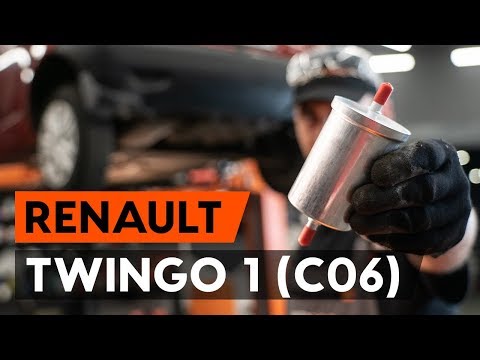
Renault Twingo
(1993-2007 /
Twingo 1)
In this video tutorial, you can see how to replace the fuel filter on a Renault Twingo by following some essential steps: the first thing to do is op…

Renault Twingo
(2007-2014 /
Twingo 2)
To replace the diesel filter of the Renault Twingo, you need to open the hood so that you can access the components located inside the engine compart…

Renault Twingo
(1993-2007 /
Twingo 1)
In this video we can see how to replace the fuel filter on a Renault Twingo version 1: we open the hood and unscrew the fuel filler cap, then we lift…
Other guides you may be interested in
|
Frequently Asked QuestionsWhere is the Fuel Filter Located in a Volvo XC60?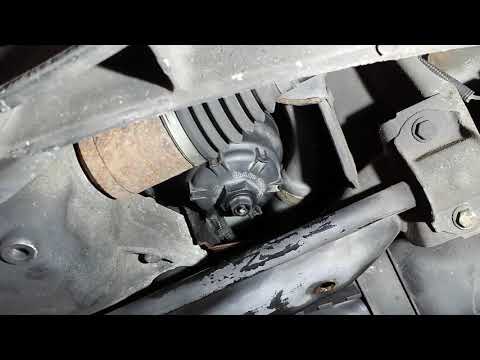
In this video, you will see where the fuel filter is located in a Volvo XC60 and how to proceed if you need to replace it. As shown, the filter is positioned at the lower part of the engine, right between the left half-shaft and the sway bar attachment. To replace the filter, first, go underneath the vehicle, taking all necessary safety precautions. Then, using an 18mm wrench, open the drain valve and allow any water present to escape. Next, unscrew the housing, remove the old filter, insert the replacement along with a new gasket, and reassemble everything. by ScegliAuto More videos
|
|
For advertising on this site Write to info@scegliauto.com
ScegliAuto is not responsible for any inaccuracy of the data in the lists. To report any inaccuracy or your business (if you own the business in question), please write to info@scegliauto.com
Number of seconds to generate the page: 2.090
(c) ScegliAuto 2026 - info@scegliauto.com - Privacy policy VAT number: IT01247470535 |
