
|
Do it yourself
| |||
| ||||


How to replace the fuel filter of the Renault Twingo
Model: Renault Twingo
Twingo 1
- Years 1993-2007
Replacing the fuel filter of the Renault Twingo model 1 is an operation that can be done independently, thanks to our short video tutorial that will show you the steps to follow. The first step is to open the fuel door and unscrew the cap for the fuel pump insertion. The second step is to lift the vehicle in order to access the filter. The third step is to use a Phillips screwdriver to remove the filter fastening element. The fourth step is to use a specific pliers to remove the filter connections. The fifth step is to insert the new filter and connect it to the connections. The sixth step is to secure the filter. The seventh step is to lower the vehicle and close the fuel door.
Posted on 11 October 2024 by ScegliAuto
Video tutorial
Related tutorials
Renault Twingo
(1993-2007 /
Twingo 1)
To replace the fuel filter of the Renault Twingo, start by unscrewing the fuel filler cap, lift the car on a lift (or rearward), use a crosshead scre…

Renault Twingo
(2007-2014 /
Twingo 2)
To replace the diesel filter of the Renault Twingo, you need to open the hood so that you can access the components located inside the engine compart…
Renault Twingo
(1993-2007 /
Twingo 1)
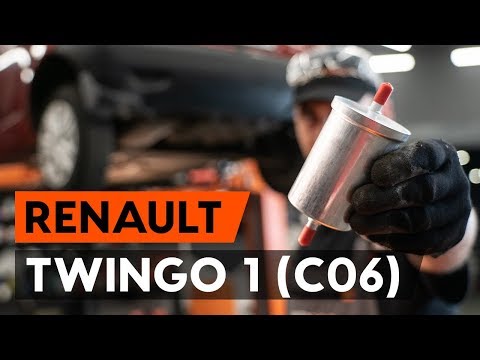
In this video tutorial, you can see how to replace the fuel filter on a Renault Twingo by following some essential steps: the first thing to do is op…
Other guides you may be interested in
|
Frequently Asked QuestionsHow to replace the horn on a Renault Duster - Dacia Duster
Today's main instructions will show you the procedure for removing and replacing the horn or sound signal on the Renault Duster, as well as the Dacia Duster. First, open the bonnet of the vehicle and start removing the front bumper by unscrewing all the fixing screws; you will find the horn right in front of the radiator, as shown in the video. At this point, disconnect the electrical connector and unscrew the bracket screw to remove and replace the horn with the new one; finally, reassemble the front bumper! by ScegliAuto More videos
|
|
For advertising on this site Write to info@scegliauto.com
ScegliAuto is not responsible for any inaccuracy of the data in the lists. To report any inaccuracy or your business (if you own the business in question), please write to info@scegliauto.com
Number of seconds to generate the page: 0.085
(c) ScegliAuto 2026 - info@scegliauto.com - Privacy policy VAT number: IT01247470535 |
