
|
Do it yourself
| |||
| ||||


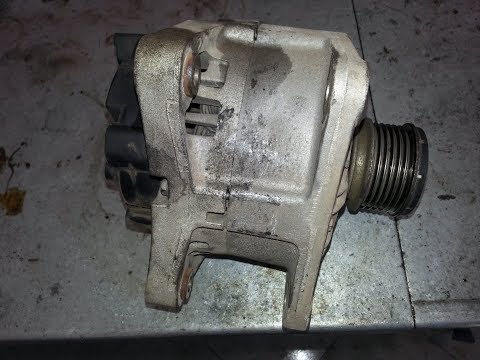
Removing the Alternator and Fitting the Belt
Model: Renault Clio
MK 2, Clio 2
- Years 1998-2005
First, using a 13 mm spanner, loosen the bolt located on the left side of the alternator. Remove the nut on the left side with the same spanner and disconnect the two electrical cables. At this point, you can completely remove the first bolt on the left. The last lower bolt can be removed using a 17 mm spanner. Carefully lift the alternator from its position, taking care not to damage nearby components. To reassemble, follow the reverse procedures, fit the belt, and ensure it is tensioned correctly for smooth operation.
Updated on 9 February 2026 by ScegliAuto
Video tutorial
Related tutorials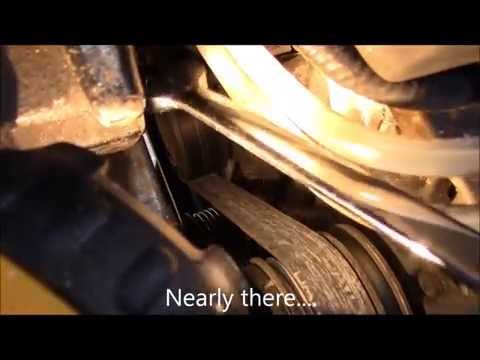
Renault Clio
(1998-2005 /
MK 2, Clio 2)
Replace the alternator on Clio? Let's see how the piece is removed from inside the engine compartment. We open the bonnet putting it in safety, locat…
Renault Clio
(2005-2013 /
Clio 3, MK 3, Clio III)
Removing the alternator on this model of car is similar to all other models equipped with the 1.5 dCi engine: the alternator is located at the front …

Renault Clio
(1998-2005 /
MK 2, Clio 2)
In today's video we will see the instructions that will allow us to remove and replace the alternator belt on a second series Renault Clio, with 1.2 …
Other guides you may be interested in
|
How to Remove the Brake Disc on Mitsubishi Pajero
How to remove the brake disc along with the brake pads on a Mitsubishi Pajero? First, lift the vehicle on a column lift to a suitable height for working. Next, remove the wheel (using a telescopic spanner or air drill) with the respective bolts. Undo the locking bolt of the brake caliper, and remove it from the caliper support. Remove the caliper support from the wheel hub using a socket spanner. Once the brake disc is free, undo the screws with a fixed spanner and detach the disc from the wheel hub. Disconnect the various wiring and brake fluid pipes from the wheel assembly. Replace them with new parts (always use original and compliant parts). Prepare to install the new disc along with the respective pads, brake caliper, caliper support, etc. by ScegliAuto More videos
|
|
For advertising on this site Write to info@scegliauto.com
ScegliAuto is not responsible for any inaccuracy of the data in the lists. To report any inaccuracy or your business (if you own the business in question), please write to info@scegliauto.com
Number of seconds to generate the page: 0.055
(c) ScegliAuto 2026 - info@scegliauto.com - Privacy policy VAT number: IT01247470535 |