
|
Do it yourself
| |||
| ||||


How to Replace the Auxiliary Belt on a Renault Clio IV
Model: Renault Clio
Clio IV, MK 4, Clio 4
- Years 2012-2019
To change the auxiliary belt on your Renault Clio, open the bonnet. For safety, disconnect the negative terminal of the battery. Safely lift the front of the vehicle and remove the front right wheel - place it under the car. Now, remove the wheel arch liner using a 27 mm screwdriver to access the belt that needs to be removed. Use a 16 mm spanner to loosen the belt by lifting the tensioner, and remove it. When changing the belt, you must also replace the tensioner by using a socket with a 14 mm insert to unscrew the support bolt. You can find a complete kit on major e-commerce platforms for around £37. Refit the tensioner, preferably using a torque wrench. When refitting the belt, pay attention to the installation direction: the markings on the belt should rotate clockwise. Also, ensure the initial installation direction is correct and verify that the belt is properly seated on all pulleys. Now, refit the wheel arch liner and reconnect the battery. Refit the wheel and lower the car. The job is complete.
Updated on 24 May 2026 by ScegliAuto
Video tutorial
Related tutorials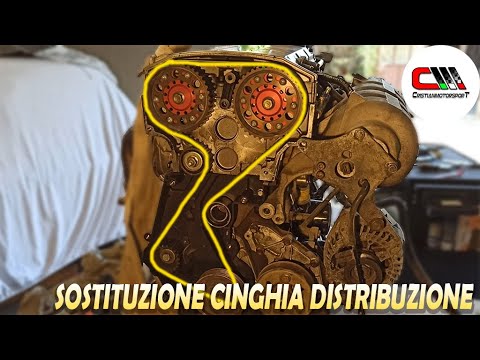
Renault Clio
(2012-2019 /
Clio IV, MK 4, Clio 4)
The video shows the steps to replace the timing belt on a Renault Clio. First, disconnect the battery terminal and remove the cover. Next, remove the…
Renault Clio
(2012-2019 /
Clio IV, MK 4, Clio 4)
This guide outlines the main steps to remove and replace the air conditioning compressor on the Renault Clio. First, lift the vehicle and remove the …

Renault Clio
(2012-2019 /
Clio IV, MK 4, Clio 4)
The timing belt of the Renault Clio 4 must be replaced every 6 years or when it reaches 120,000 km as indicated by the manufacturer. To perform the r…
Other guides you may be interested in
|
How to Repair the Key Spring of the Peugeot 207?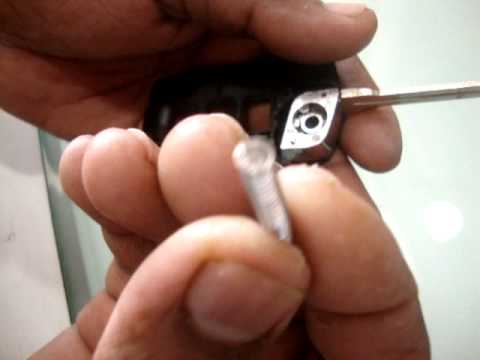
Over time, frequent use of the key's flip mechanism in the vehicle, dozens of times a day, inevitably leads to wear of the internal spring. As shown in this video, replacing the spring is quite simple and takes little time. After opening the casing halfway, first position the key, then the spring housing, and finally insert the spring into the previously mentioned housing. Close the casing by rotating it clockwise, ensuring all components fit perfectly, and test the key's flip mechanism. by ScegliAuto More videos
|

|
For advertising on this site Write to info@scegliauto.com
ScegliAuto is not responsible for any inaccuracy of the data in the lists. To report any inaccuracy or your business (if you own the business in question), please write to info@scegliauto.com
Number of seconds to generate the page: 1.011
(c) ScegliAuto 2026 - info@scegliauto.com - Privacy policy VAT number: IT01247470535 |
