
|
Do it yourself
| |||
| ||||


When to Replace Brake Discs and Pads
Model: Renault Kangoo
MK 1, KC, KW
- Years 1997-2008
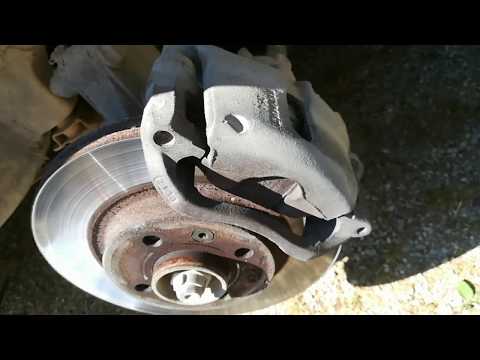
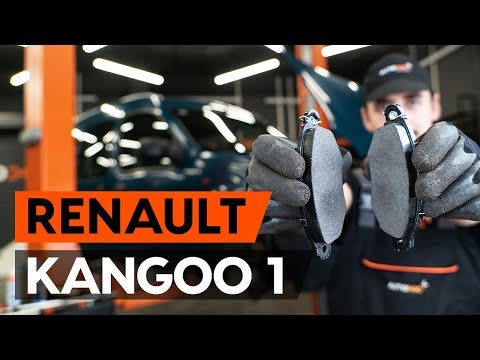
This video tutorial provides some advice on when it is necessary to replace the brake disc and pads. The vehicle in question is a Renault Kangoo. The disc generally needs to be changed when it reaches the minimum thickness indicated in the maintenance manual. To measure it, use a caliper and it's best to measure at more than one point. In this case, the wear on the disc is clearly visible to the naked eye. A completely new disc is also shown, allowing you to notice the differences between the two discs. The same applies to the brake pads. When they wear down, they have a reduced contact surface with the disc, thus decreasing braking efficiency. This is particularly true if the disc is also worn; the metal backing of the pads touches the edge of the disc. It’s better to replace them!
Updated on 13 February 2026 by ScegliAuto
Video tutorial
Related tutorials
Renault Kangoo
(1997-2008 /
MK 1, KC, KW)
Replacing the front brake discs and pads is a maintenance that can easily be done by yourself; therefore lift the car by placing it in safety on suit…
Renault Kangoo
(2007-2021 /
FW, FC, MK 2)
In this video tutorial, we can see how it is possible to replace the brake pads on a Renault Kangoo by following some fundamental steps: the first th…
Renault Kangoo
(1997-2008 /
MK 1, KC, KW)
In this tutorial, we can see how to replace the front brake pads in the Renault Kangoo, a very simple operation but one that requires good manual dex…
Other guides you may be interested in
|
Installation of Upgraded Intercooler Radiator with Pipes
Lift the vehicle on suitable axle stands, remove the front wheels, and then the front bumper and grille. Proceed to remove the front headlights; drain the coolant, remove the intercooler radiator and the hoses connecting it to the intake system. Position the new intercooler radiator in the grille, temporarily securing it with cable ties, and mark with a marker the part of the metal that needs to be removed to allow the new hoses to pass through. Cut the marked portion of metal and apply a gasket to the edge. Remove the inner cover of the bumper and position it near the radiator to identify any interfering parts to eliminate: again, apply a gasket to the edge of the cut. Create brackets for securing the new radiator and proceed with the installation of the connecting pipes from the radiator to the intake, shaping and connecting them appropriately. Finally, reassemble the bumper, headlights, and grille. by ScegliAuto More videos
|
|
For advertising on this site Write to info@scegliauto.com
ScegliAuto is not responsible for any inaccuracy of the data in the lists. To report any inaccuracy or your business (if you own the business in question), please write to info@scegliauto.com
Number of seconds to generate the page: 0.053
(c) ScegliAuto 2026 - info@scegliauto.com - Privacy policy VAT number: IT01247470535 |