
|
Do it yourself
| |||
| ||||


Interior Lighting with LEDs
Model: Hyundai Elantra
MK 6
- Years:
2015, 2016, 2017, 2018, 2019, 2020
This video is currently unavailable
This video illustrates how to enhance the interior of your vehicle by adding a series of LEDs (blue in this case). The chosen positions for this application are inside the door pocket, the sides of the centre tunnel, and the cup holder. Note that the cable routing was done without dismantling the interior. A piece of stiff wire was used for this purpose to pass through the tight spaces between plastic and trim, particularly to wire the LED in the cup holder. The same applies to the LEDs in the doors, although leaving the cables visible is not advisable as they are more prone to being crushed and are unsightly. Essential for a safe installation is the application of a dedicated fuse for the LED power supply and a switch for turning them on.
Updated on 4 February 2026 by ScegliAuto
Related tutorials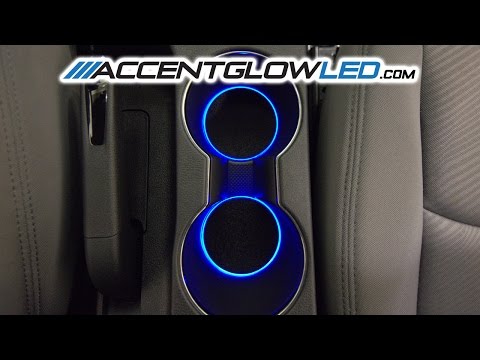
Hyundai Elantra
(2015-2020 /
MK 6)
To insert the LED light discs into the bottle holder compartment of the centre tunnel, start by unclipping the side trim panels using a plastic lever…

Hyundai Elantra
(2006-2010 /
MK 4, HD)
In this detailed video, we will see how to install and replace the timing chain on a Hyundai Elantra. Remove the right splash guard with a screwdrive…

Hyundai Elantra
(2015-2020 /
MK 6)
How to remove the spark plugs of a Hyundai Elantra? Let's see how to proceed: open the engine bay and lift the front bonnet; secure and disconnect th…
Other guides you may be interested in |
How to Remove the Rear Seat of a Hyundai Tucson?
To remove the rear seat of a Hyundai Tucson, follow these steps. Start by moving the front seats to their most forward position to gain space. Next, locate the release lever on the underside of the rear seat, near the floor. Press this lever down while pulling the seat upwards to unlock it from the anchor pins. Once unlocked, tilt the seat upwards and forwards to remove it from its position. Repeat this process for both sides of the rear seat. Be careful of any electrical cables or components that may be connected to the seat during removal. Once the rear seat is removed, the disassembly is complete. by ScegliAuto More videos
|
|
For advertising on this site Write to info@scegliauto.com
ScegliAuto is not responsible for any inaccuracy of the data in the lists. To report any inaccuracy or your business (if you own the business in question), please write to info@scegliauto.com
Number of seconds to generate the page: 0.086
(c) ScegliAuto 2026 - info@scegliauto.com - Privacy policy VAT number: IT01247470535 |
