
|
Do it yourself
| |||
| ||||


How to Remove the Door Panel of a Renault Laguna
Model: Renault Laguna
MK 2, X74, Laguna 2
- Years:
2001, 2002, 2003, 2004, 2005, 2006, 2007
Video tutorial
To remove the door panel of a Renault Laguna, use a tool to pry off the internal cover of the rearview mirror, the window switch panel, and the switch panel under the internal handle. Once these components are removed, you can loosen the screws that secure the panel in place: these screws are located at the internal handle and at the bottom of the panel. This will allow you to position the new panel, reconnect the switch panels, and secure it with the appropriate screws.
Updated on 25 August 2026 by ScegliAuto
Related tutorials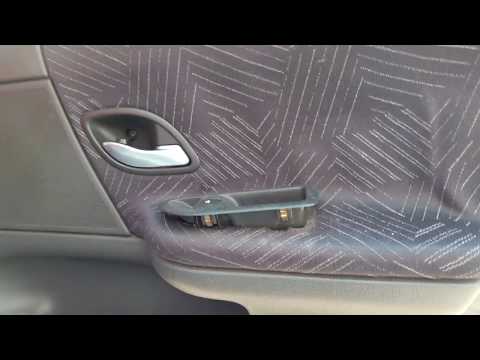
Renault Laguna
(2001-2007 /
MK 2, X74, Laguna 2)
To remove the door panel on a Renault Laguna, unscrew the screws located in the area of the upper door opening lever, then remove the plastic cover f…
Renault Laguna
(2001-2007 /
MK 2, X74, Laguna 2)
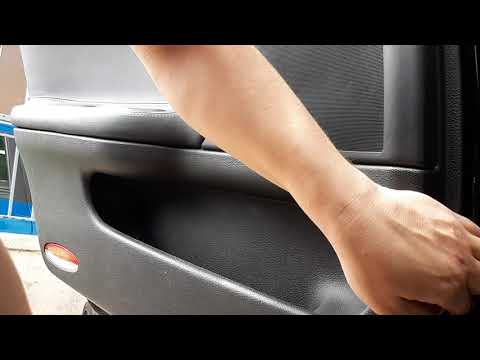
Follow this brief and simple guide for instructions on how to remove and replace the front door panel of the Renault Laguna. First, open the front do…
Renault Laguna
(2007-2015 /
MK III, X91, Laguna III, MK 3, Laguna 3)
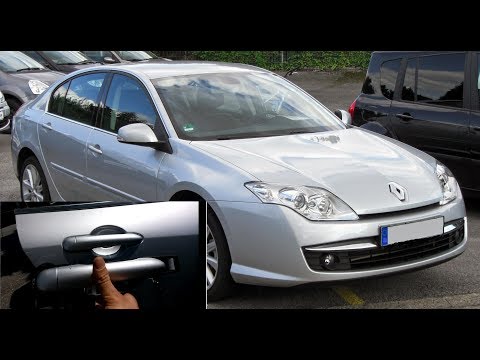
Do you want to remove the external handle of your Renault Laguna 3? In this detailed video, see briefly how to disassemble and remove it from the doo…
Other guides you may be interested in
|
Where to Find and How to Remove the Spare Wheel of a Peugeot 5008?
The spare wheel of a Peugeot 5008 is located under the rear of the vehicle. To remove it, you need to lift the third row of seats to access the fixing bolt that holds the spare wheel in position. Using the correct spanner, proceed to unscrew the fixing bolt until the wheel is no longer secured. At this point, you can extract the spare wheel from underneath the vehicle. Once you have completed this step, you are free to fit the spare wheel. Ensure you correctly remount the spare wheel and securely tighten the fixing bolt when you are finished. by ScegliAuto More videos
|
|
For advertising on this site Write to info@scegliauto.com
ScegliAuto is not responsible for any inaccuracy of the data in the lists. To report any inaccuracy or your business (if you own the business in question), please write to info@scegliauto.com
Number of seconds to generate the page: 0.024
(c) ScegliAuto 2026 - info@scegliauto.com - Privacy policy VAT number: IT01247470535 |
