
|
Do it yourself
| |||
| ||||


How to Check if the Tyres on the Renault Captur are in Good Condition?
Model: Renault Captur
MK 1
- Years 2013-2019
There are various methods to check the wear of the tyres on the Renault Captur. In today's video, you will learn how to check their condition using a simple £2 coin. Simply take the coin and place it at various points on the tyre, first diagonally and then in the centre. If the coin is not perfectly aligned, it means the tyres are still in good condition; if the coin is perfectly aligned, it means the tyres need replacing. If you need to change tyres and want to do it yourself, know that when you purchase your tyres, they will come with a yellow sticker. This sticker should not be removed as it indicates that the part with the yellow sticker should be placed on the outside. If you find coloured lines when removing your tyres, don't worry; those lines were made by the manufacturer to indicate that a certain type of tyre should be fitted to that model.
Updated on 4 September 2026 by ScegliAuto
Video tutorial
Related tutorials
Renault Captur
(2013-2019 /
MK 1)
This video shows the diagnosis and repair of a battery charging fault on a Renault Captur: upon ignition, the car displays a warning: 'engine failure…

Renault Captur
(2019-2026 /
MK 2)
The tyre monitoring system in the Renault Captur is very intuitive and allows easy access. The warning is displayed whenever the wheel sensors detect…
Renault Captur
(2019-2026 /
MK 2)
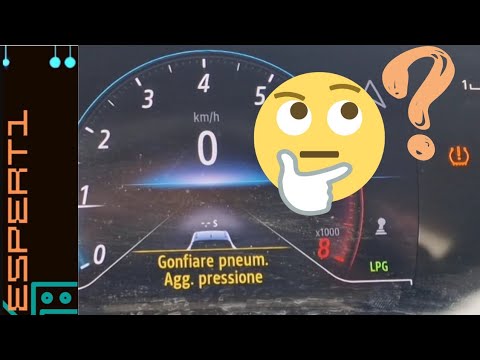
In this video, you will see how to reset the tyre pressure warning light on a Renault Captur. In the version shown, the tyre pressures are not indica…
Other guides you may be interested in
|
How to Bleed the Clutch on a Renault Clio?
To bleed the clutch on a Renault Clio, open the bonnet to access the components located in the engine bay: here, you will need to undo the screws that secure the battery in its housing, the intake manifold, and the coolant reservoir. This will allow you to locate the pipe through which the brake fluid flows: by inserting the other end of the pipe into a container, you can press the clutch pedal to expel all the fluid until it fills the container. by ScegliAuto More videos
|

|
For advertising on this site Write to info@scegliauto.com
ScegliAuto is not responsible for any inaccuracy of the data in the lists. To report any inaccuracy or your business (if you own the business in question), please write to info@scegliauto.com
Number of seconds to generate the page: 0.207
(c) ScegliAuto 2026 - info@scegliauto.com - Privacy policy VAT number: IT01247470535 |
