
|
Do it yourself
| |||
| ||||


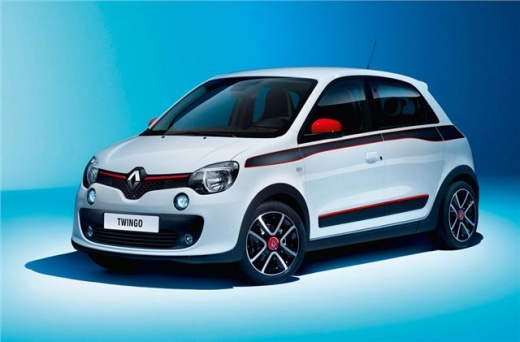
How to Use the Inflation Kit on a Renault Twingo Electric
Model: Renault Twingo
Twingo III, Twingo 3
- Years:
2014, 2015, 2016, 2017, 2018, 2019, 2020, 2021, 2022, 2023, 2024
Video tutorial
In this video, see how to use the inflation kit on the Renault Twingo Electric, provided the punctures are not located on the sidewall. The inflation kit is located in the passenger footwell, and to access it, you need to remove two plastic screws. Screw the flexible hose onto the canister, then connect it to the wheel valve and plug the power cable into the electrical socket. The correct inflation pressures are indicated on the driver's door frame. Start the engine and activate the compressor. Within 15 minutes, the minimum pressure of 1.8 bar should be reached; otherwise, it means that the repair is not possible. Drive for about 3 miles to evenly distribute the product in the tyre, then stop and check the pressure. This temporary repair allows you to drive for a maximum of 200 miles at 50 mph, after which you need to have the tyre repaired or replaced by a professional.
Updated on 30 September 2026 by ScegliAuto
Related tutorials
Renault Twingo
(2014-2024 /
Twingo III, Twingo 3)
The inflation kit of the Renault Twingo is useful in emergency situations to repair a damaged tire. To use the kit, you must pull over the vehicle to…

Renault Twingo
(2007-2014 /
Twingo 2)
In this guide, discover where the internal fuse box of your Renault Twingo Mk2 is located. It will only take a few seconds if you follow the instruct…

Renault Twingo
(2014-2024 /
Twingo III, Twingo 3)
In order to replace the radio of the Renault Twingo, you will need to use an object to pry and completely detach the covering that surrounds the cent…
Other guides you may be interested in
|
Frequently Asked QuestionsHow to Set the Time on an Audi A6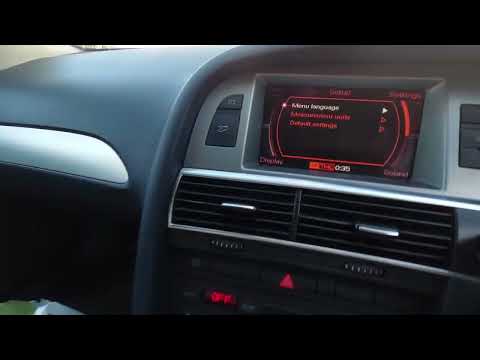
Briefly, we will see the instructions to set the time on the Audi A6 by following these simple steps. First, get inside the vehicle and turn on the instrument cluster; then press the settings button and navigate to the time option to confirm your choice, as shown in the video. At this point, set the correct time and format, then exit the settings menu to save the changes made; finally, start the engine and ensure that the time has been set correctly! by ScegliAuto More videos
|
|
For advertising on this site Write to info@scegliauto.com
ScegliAuto is not responsible for any inaccuracy of the data in the lists. To report any inaccuracy or your business (if you own the business in question), please write to info@scegliauto.com
Number of seconds to generate the page: 0.040
(c) ScegliAuto 2026 - info@scegliauto.com - Privacy policy VAT number: IT01247470535 |
