
|
Do it yourself
| |||
| ||||


Installation of a CD Emulator Device
Model: Saab 9 5
Ys3e, MK 1
- Years 1997-2010
Sometimes, a radio may not include a CD player, especially older models, or the installed player may not read one of your favourite CDs; you cannot (or do not want to) replace the entire radio. What to do? Don't worry, there's a solution! There is a specific device that "simulates" a CD player effectively. Here’s how to install it. First, remove the main unit of the radio using the appropriate tools and pull it out: if you have disconnected the entire unit, you will need to reset it by pressing HOLD and OFF at the same time. Remove one of the empty buttons and fit the new one; gently pry off the safety panel by pressing the sides with a screwdriver and disconnect the connectors behind it. Cut the cable tie and separate the connector from the other two, being careful not to damage the wires; assemble the new wiring and secure it with a cable tie. Reconnect the connectors behind the safety panel; remove the cigarette lighter power cable and connect it to the new cables as best as you can. Connect the green cables to the main panel and the black one to the CD module; hide it behind the radio unit; reassemble everything else. As an alternative method, mount the stereo in the safety frame, connect the cables behind it and put it back in place. Now all that's left is to connect your audio device and test it!
Updated on 9 February 2026 by ScegliAuto
Video tutorial
Related tutorials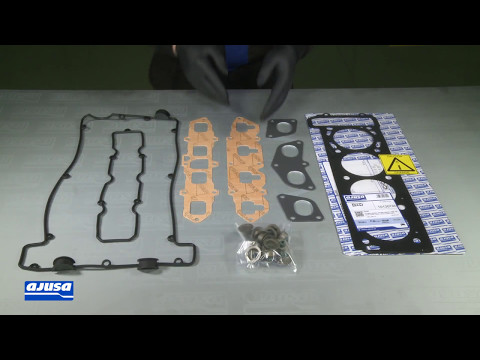
Saab 9 5
(1997-2010 /
Ys3e, MK 1)
Before proceeding with the installation of the intake manifold gasket, ensure that there are no dirt or residue on either the cylinder head side or t…

Saab 9 5
(1997-2010 /
Ys3e, MK 1)
In order to disassemble the dashboard of the Saab 9-5, you need to loosen the screws that secure the radio in the center of the dashboard: once the s…
Saab 9 5
(1997-2010 /
Ys3e, MK 1)
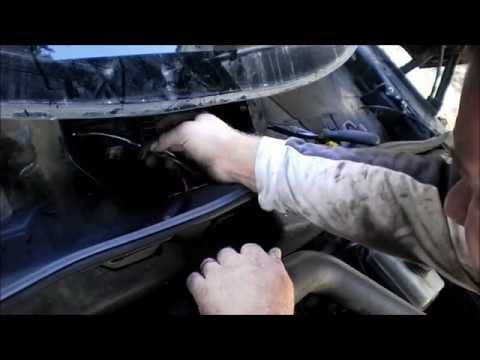
Open the front bonnet and ensure it is securely supported. Remove the wiper blade and take off the plastic cover located just below the windscreen an…
Other guides you may be interested in
|
How to Open the Fuel Cap of the Volkswagen Jetta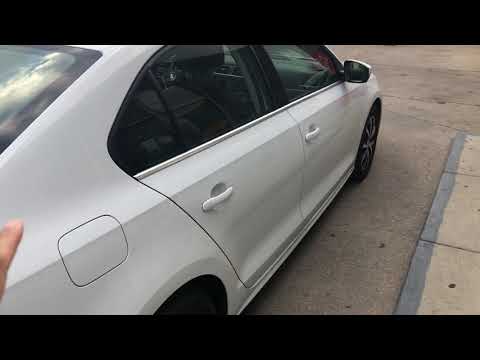
When you need to refuel this vehicle, first open the fuel filler flap. Follow these simple instructions, and you can also watch the video for more details. First, unlock the central locking to open the flaps. Then, press the fuel cap with your hand to unlock it and open it. Underneath, you will find the fuel cap, which you need to unscrew counterclockwise. At this point, you can proceed to refuel. by ScegliAuto More videos
|
|
For advertising on this site Write to info@scegliauto.com
ScegliAuto is not responsible for any inaccuracy of the data in the lists. To report any inaccuracy or your business (if you own the business in question), please write to info@scegliauto.com
Number of seconds to generate the page: 0.295
(c) ScegliAuto 2026 - info@scegliauto.com - Privacy policy VAT number: IT01247470535 |
