
|
Do it yourself
| |||
| ||||


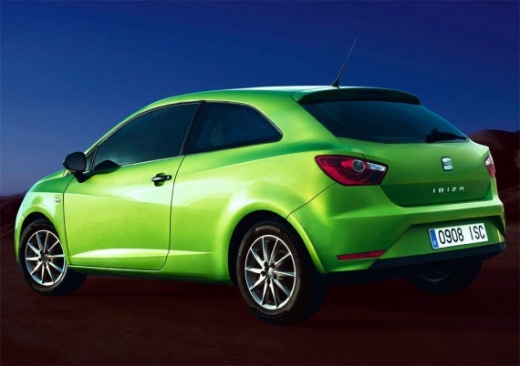
How to Replace the Rear Wheel Bearing on a Seat Ibiza III
Model: Seat Ibiza
6J, 6P
- Years:
2008, 2009, 2010, 2011, 2012, 2013, 2014, 2015, 2016, 2017
Video tutorial
Let's see how to replace the rear wheel bearing on a Seat Ibiza: first, lift the vehicle to remove the wheel where the bearing needs to be replaced. Remove the tyre and unscrew the bolts, then take off the brake drum; you will also need to release the handbrake, otherwise, you won't be able to move the drum. Unscrew the wheel hub mounting bracket, remove it, and then fit the new hub along with the respective bearing. Refit the brake drum, which you should clean with a wire brush and spray with copper grease. Now you can remount the wheel. Tighten the bolts and lower the vehicle. The job is done.
Updated on 12 July 2026 by ScegliAuto
Related tutorials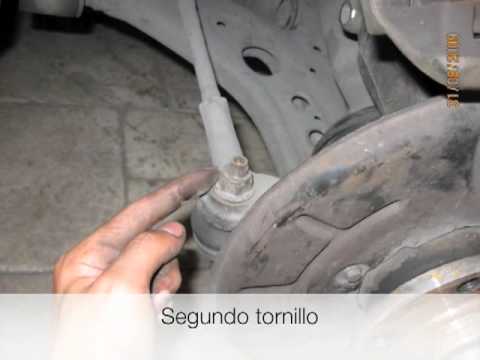
Seat Ibiza
(2002-2009 /
6L)
Obtain a replacement bearing. Lift the vehicle, secure it, and remove the wheel. Take off the metal shield protecting the retaining bolt located on t…

Seat Ibiza
(2008-2017 /
6J, 6P)
The timing belt on the Seat Ibiza must be replaced after a certain mileage or after a specific time period. The vehicle's maintenance manual provides…

Seat Ibiza
(2017-2026 /
KJ, 6F)
Replacing the front headlamp bulb on your Seat Ibiza is very simple. With the procedure described in this mini guide, you can complete the task in ju…
Other guides you may be interested in
|
How to Reset the Tire Pressure Light on a MG ZS?
On the instrument cluster of the MG ZS, the tire pressure light that appears can be reset by inflating the tires to the correct pressure: this value will be indicated on the sticker attached to the driver's door pillar. Once the tires have been properly inflated, you can turn on the instrument cluster and navigate through the menu until you find the option that indicates tire pressure: if this screen shows the new values, the light will turn off; otherwise, you will need to drive for a few miles so that the sensors can read the new values and turn off the light afterward. by ScegliAuto More videos
|
|
For advertising on this site Write to info@scegliauto.com
ScegliAuto is not responsible for any inaccuracy of the data in the lists. To report any inaccuracy or your business (if you own the business in question), please write to info@scegliauto.com
Number of seconds to generate the page: 0.072
(c) ScegliAuto 2026 - info@scegliauto.com - Privacy policy VAT number: IT01247470535 |
