
|
Do it yourself
| |||
| ||||


How does the armrest of the Skoda Octavia MK2 work?
Model: Skoda Octavia
1Z, MK 2
- Years:
2004, 2005, 2006, 2007, 2008, 2009, 2010, 2011, 2012
Video tutorial
In this video we see how the armrest works on the Skoda Octavia MK2. It lifts and lowers with a simple movement and has 4 preset positions, which are reached by lifting and lowering it until you hear a click in the desired position: it is ideal for drivers of different heights or to find comfort while driving. Under the top cover there is a second cover: opening it, the air conditioning enters the armrest compartment. It is used to keep drinks cool, store snacks or chocolate without melting, or keep a sandwich cool to eat later. It is not a refrigerator; it only uses the cold air from the air conditioning system. Inside the compartment we find an AUX socket to listen to music through the audio system.
Posted on 8 September 2025 by ScegliAuto
Related tutorials
Skoda Octavia
(2004-2012 /
1Z, MK 2)
In this tutorial, we can see how to replace the armrest in the Skoda Octavia, an extremely simple and quick operation. First of all, let's go inside …

Skoda Octavia
(2004-2012 /
1Z, MK 2)
To replace the front headlight bulb of your Skoda Octavia second series by yourself, simply follow the procedure described below. First, park the car…
Skoda Octavia
(2004-2012 /
1Z, MK 2)
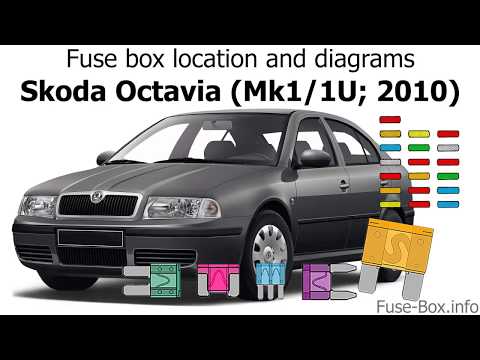
In this video, you can see the fuse diagrams for the Skoda Octavia, which are the first elements to check if one or more devices suddenly stop workin…
Other guides you may be interested in
|
How to Remove the Rear Seat of a Hyundai Tucson?
To remove the rear seat of a Hyundai Tucson, follow these steps. Start by moving the front seats to their most forward position to gain space. Next, locate the release lever on the underside of the rear seat, near the floor. Press this lever down while pulling the seat upwards to unlock it from the anchor pins. Once unlocked, tilt the seat upwards and forwards to remove it from its position. Repeat this process for both sides of the rear seat. Be careful of any electrical cables or components that may be connected to the seat during removal. Once the rear seat is removed, the disassembly is complete. by ScegliAuto More videos
|
|
For advertising on this site Write to info@scegliauto.com
ScegliAuto is not responsible for any inaccuracy of the data in the lists. To report any inaccuracy or your business (if you own the business in question), please write to info@scegliauto.com
Number of seconds to generate the page: 0.021
(c) ScegliAuto 2026 - info@scegliauto.com - Privacy policy VAT number: IT01247470535 |
