
|
Do it yourself
| |||
| ||||


Testing procedure for the operation of the air vents of the Skoda Octavia MK3.
Model: Skoda Octavia
MK 3, 5E
- Years 2012-2019
Let's see how to perform the testing and calibration procedure for the air vents on the Skoda Octavia 3. This is an internal diagnostic mode of the climate control system that is used to recalibrate the flap motors, test their operation, and resolve issues with air coming from the wrong vents or being unable to change the direction of airflow.
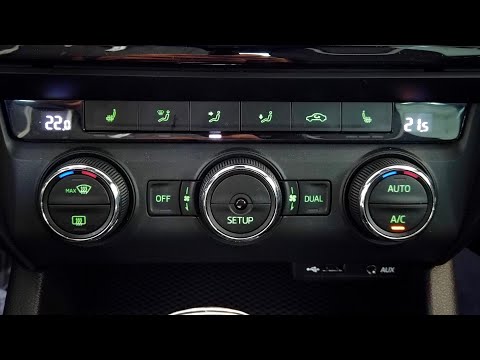
First, turn on the ignition, and simultaneously press the "A/C" button and the button that directs the airflow towards the face for about 5 seconds: the procedure will start automatically. The ventilation button indicators will begin to flash, and we will hear the electric motor moving the flaps back and forth, searching for their mechanical limits. The entire process lasts 20 to 30 seconds: at the end, the LEDs will stop flashing, and the noises will cease, indicating the completion of the calibration, which resolves most flap-related issues.
Posted on 30 November 2025 by ScegliAuto
Video tutorial
Related tutorials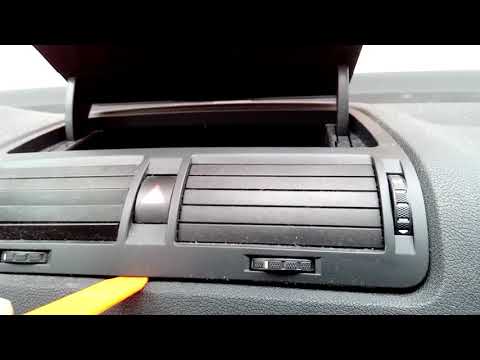
Skoda Octavia
(2004-2012 /
MK 2, 1Z)
In the following video tutorial, you will see how to easily and quickly remove the air vents on a Skoda Octavia. First, get inside the vehicle and us…
Skoda Octavia
(2012-2019 /
MK 3, 5E)
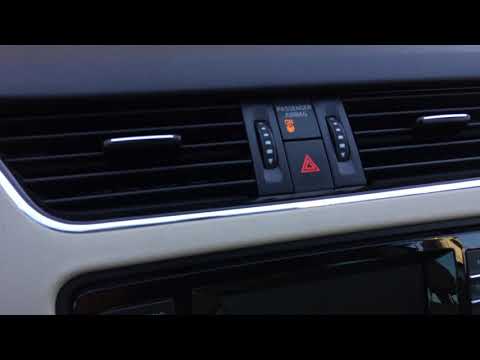
In the Skoda Octavia, it may happen that the air conditioner shows signs of malfunction or does not work properly. In these cases, we can try to solv…
Skoda Octavia
(2012-2019 /
MK 3, 5E)
In this tutorial, we will see how to recalibrate the air conditioning on a Skoda Octavia, an extremely simple and quick operation to perform, for exa…
Other guides you may be interested in
|
How to Open the Bonnet on the Lancia Y
To open the bonnet on this vehicle, follow these simple instructions: first, open the driver's door and locate the lever positioned just below the dashboard, marked with an image of the vehicle with the bonnet open. Pull this lever towards you until you hear a "click" indicating the bonnet is released. Next, exit the cabin and stand in front of the bonnet to disengage the safety catch and complete the opening. To do this, slightly lift the bonnet, locate the yellow lever underneath, and pull it to the left to fully release and open the bonnet. by ScegliAuto More videos
|

|
For advertising on this site Write to info@scegliauto.com
ScegliAuto is not responsible for any inaccuracy of the data in the lists. To report any inaccuracy or your business (if you own the business in question), please write to info@scegliauto.com
Number of seconds to generate the page: 0.067
(c) ScegliAuto 2026 - info@scegliauto.com - Privacy policy VAT number: IT01247470535 |
