
|
Do it yourself
| |||
| ||||


Disassembly of the car radio on Smart Fortwo
Model: Smart Smart
451
- Years 2007-2015
We see the disassembly of the car radio on a Smart Fortwo with attached parts. Remove the air conditioning control panel under the car radio, remove the surround frame around it with a plastic lever (where the ventilation vents are) and detach it from the central dashboard. Once the car radio is free from covering plastics, we are going to unscrew the tightening screws on the sides with a screwdriver. We extract the car radio from inside the plastics of the central dashboard and disconnect the cables (power supply and antenna). To carry out the assembly, we proceed in reverse the disassembly operations. At the end of the assembly of the new car radio we just have to test its operation.
Posted on 4 November 2020 by ScegliAuto
Video tutorial
Related tutorials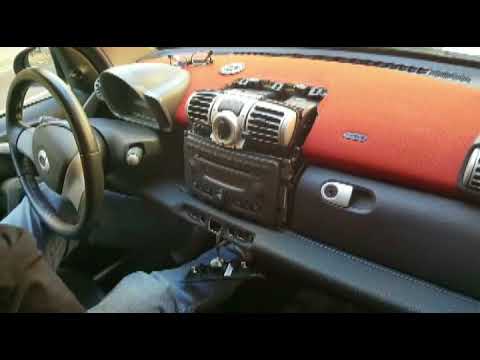
Smart
(2007-2015 /
451)
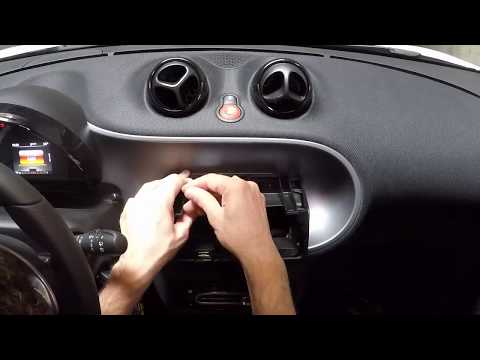
Disassembly of the damaged car radio of a Smart Fortwo, let's see how. Remove the stereo trim frame with a plastic lever (where the ventilation vents…
Smart
(2014-2022 /
453)
Let's see how to disassemble the car radio on a Smart Fortwo. Using a plastic lever, remove the push-button panel at the rear of the car radio, with …
Smart
(2014-2022 /
453)
How to disassemble and remove the original car stereo on Smart Fortwo? Let's see how to do the disassembly: turn off the car radio, then use levers (…
Other guides you may be interested in
|
How to Remove the Spark Plugs from a Toyota Aygo
How to remove the spark plugs from a Toyota Aygo? In this video, we detail the procedure: Pull the engine bay release lever located at the bottom left of the dashboard and lift the front bonnet, securing it. Remove the engine soundproofing panel, then use a socket spanner to unscrew the securing pins of the coils. Grasp the coil and twist it to extract it from the cylinder head. Use a socket spanner and extension to unscrew the spark plugs (remove them from the cylinder head) and take the new spark plug, inserting it into the cylinder head with the socket spanner. Finally, reattach the plastic cover panel. by ScegliAuto More videos
|

|
For advertising on this site Write to info@scegliauto.com
ScegliAuto is not responsible for any inaccuracy of the data in the lists. To report any inaccuracy or your business (if you own the business in question), please write to info@scegliauto.com
Number of seconds to generate the page: 0.054
(c) ScegliAuto 2026 - info@scegliauto.com - Privacy policy VAT number: IT01247470535 |