
|
Do it yourself
| |||
| ||||


Replacement of Rear Shock Absorbers
Model: Subaru Legacy
MK 4, BP, BL
- Years 2003-2009
For this operation, standard tools are required, especially a spring compressor essential for this vehicle. Lift the vehicle on the ramp. Using two spanners, remove the nut at the top of the shock absorber and the 17mm nut with a socket spanner. With two 17mm spanners, unscrew the retaining bolt of the shock absorber. If the screws are seized, use penetrating spray, wait for it to take effect, and apply leverage on the spanner. Remove the shock absorber from its mount. After securing the shock absorber in the appropriate tool or vice, use the spring compressor to compress the spring. With a 17mm spanner, unscrew the top of the old shock absorber. Replace the dust cover with a new one. Assemble the new shock absorber in the vice and fit the various components in sequence, finally adding the spring and dust buffer. Refit the top plate with the spacer and replace the nut. Release the spring compressor and reinstall the new shock absorber in its position.
Updated on 8 February 2026 by ScegliAuto
This video is currently unavailable
Related tutorials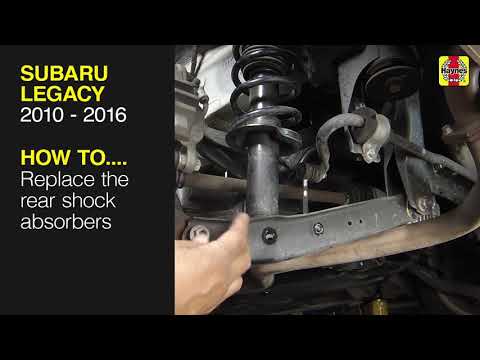
Subaru Legacy
(2009-2014 /
BM, MK 5, BR)
Before you start, lift the rear end of your Subaru Legacy. Begin by removing the rear wheel by unscrewing the relevant fixing bolts. Next, using a ja…
Subaru Legacy
(2003-2009 /
MK 4, BP, BL)
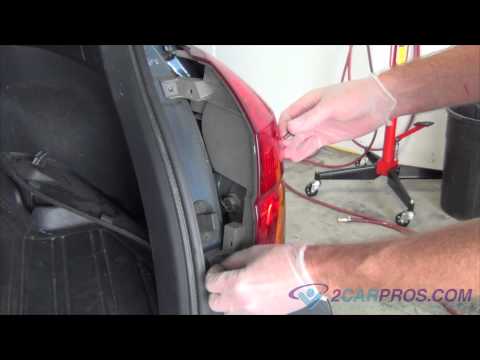
To replace the brake bulb of the rear lamp, you need to disassemble it: open the rear tailgate and remove the side fastening clip of the plastic cove…
Subaru Legacy
(2009-2014 /
BM, MK 5, BR)
Before you can begin, open the bonnet of your Subaru Legacy. Start by unfastening and removing the clips that secure the inner wheel arch near the he…
Other guides you may be interested in
|
How to Check the Oil Level on a Jeep Renegade?
To check the oil level on a Jeep Renegade, you need to open the bonnet to access the components inside the engine bay: on the lower left side of the engine block, you will find the dipstick for checking the level. This should be pulled out and thoroughly cleaned with a cloth: once cleaned, reinsert it back into its tube and pull it out immediately after. This way, you can check that the oil mark is between the minimum and maximum levels; finally, you can place the dipstick back in its tube. by ScegliAuto More videos
|
|
For advertising on this site Write to info@scegliauto.com
ScegliAuto is not responsible for any inaccuracy of the data in the lists. To report any inaccuracy or your business (if you own the business in question), please write to info@scegliauto.com
Number of seconds to generate the page: 0.403
(c) ScegliAuto 2026 - info@scegliauto.com - Privacy policy VAT number: IT01247470535 |
