
|
Do it yourself
| |||
| ||||


How to replace the exhaust gas sensor on a Suzuki Swift
Model: Suzuki Swift
Rs41, AZG, MK 5
- Years 2010-2017
In this video we can see how to replace the exhaust gas pressure sensor of a Suzuki Swift: to have more room to work, we need to remove the starting battery, since our sensor is right behind it. Disconnect the connector, disconnect the two wires that carry air to the sensor, and allow it to make its calculations. We can find the piece for example on Amazon, with the code B00BL74NTU, at a price of 36.88 euros, free delivery. Simply reattach the connector and the two gas supply pipes, and screw back the screw that supports the piece. Remount the battery, give power and see if the problem has been solved. In fact, the engine MIL light was on, but after a couple of engine starts, the light goes off permanently.
Posted on 25 November 2024 by ScegliAuto
Video tutorial
Related tutorials
Suzuki Swift
(2004-2010 /
MK 4, Rs41)
Good morning, today's goal is to understand how to open the fuel door of our Suzuki Swift and refuel. Let's start by driving the car to a gas station…
Suzuki Swift
(2004-2010 /
MK 4, Rs41)
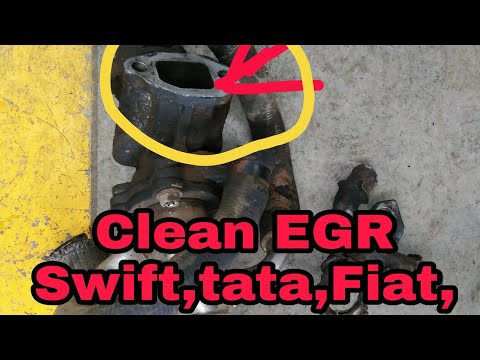
To replace the EGR valve of the Suzuki Swift, open the bonnet to access the components located inside the engine compartment: at the rear of the engi…

Suzuki Swift
(2010-2017 /
Rs41, AZG, MK 5)
In this video, we see how to open the key of a Suzuki Swift, and how to extract the sensor that allows the vehicle to open and close. The method is v…
Other guides you may be interested in
|
Frequently Asked QuestionsHow to Check the Oil Level on a Jeep Renegade?
To check the oil level on a Jeep Renegade, you need to open the bonnet to access the components inside the engine bay: on the lower left side of the engine block, you will find the dipstick for checking the level. This should be pulled out and thoroughly cleaned with a cloth: once cleaned, reinsert it back into its tube and pull it out immediately after. This way, you can check that the oil mark is between the minimum and maximum levels; finally, you can place the dipstick back in its tube. by ScegliAuto More videos
|

|
For advertising on this site Write to info@scegliauto.com
ScegliAuto is not responsible for any inaccuracy of the data in the lists. To report any inaccuracy or your business (if you own the business in question), please write to info@scegliauto.com
Number of seconds to generate the page: 0.375
(c) ScegliAuto 2026 - info@scegliauto.com - Privacy policy VAT number: IT01247470535 |
