
|
Do it yourself
| |||
| ||||


How to Replace the Air Filter on the Suzuki Celerio
Model: Suzuki Celerio
MK 2
- Years 2014-2023
If you want to replace the air filter on your vehicle yourself, refer to the instructions provided in this guide and the images from the video. The first step is to open the bonnet and locate the position of the box containing the filter, which is found at the highest point of the engine bay just below the windscreen. Using a socket wrench, unscrew the fixing screws of the air intake duct, and also with a socket wrench, remove the fixing bolt of the engine cover located directly above it. This will allow you to lift and remove the engine cover, inside which is the air filter. To access it, you need to unclip the 4 steel clips securing the cover. Then, remove the old filter and install the new one, finally proceeding to reassemble the various components in reverse order.
Updated on 3 July 2026 by ScegliAuto
This video is currently unavailable
Related tutorials
Suzuki Celerio
(2014-2023 /
MK 2)
In this new mini guide dedicated to the Suzuki Celerio, we will discover where the fuse box is located. This is a very important operation, especiall…

Suzuki Celerio
(2008-2014 /
MK 1)
In order to replace the gear knob of the Suzuki Celerio, you need to grab the old knob so that it can be slightly rotated counterclockwise: this way …
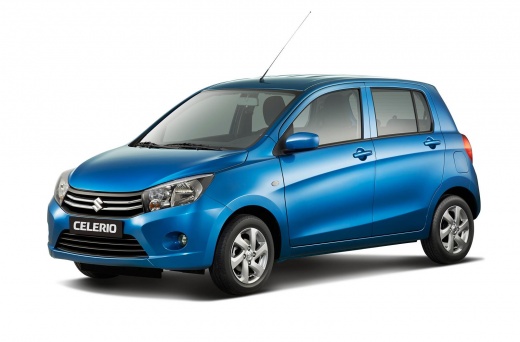
Suzuki Celerio
(2014-2023 /
MK 2)
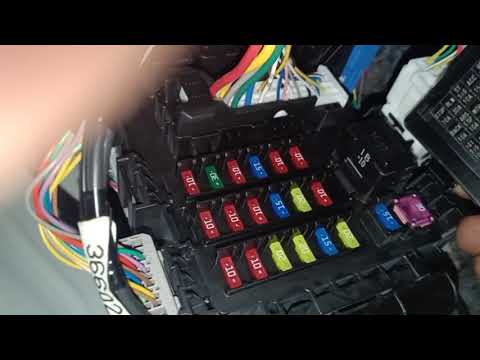
In this video, you will see the location of the fuse box in the dashboard and engine on a Suzuki Celerio. First, locate the fuse box in the engine co…
Other guides you may be interested in
|
How to replace the horn on a Renault Duster - Dacia Duster
Today's main instructions will show you the procedure for removing and replacing the horn or sound signal on the Renault Duster, as well as the Dacia Duster. First, open the bonnet of the vehicle and start removing the front bumper by unscrewing all the fixing screws; you will find the horn right in front of the radiator, as shown in the video. At this point, disconnect the electrical connector and unscrew the bracket screw to remove and replace the horn with the new one; finally, reassemble the front bumper! by ScegliAuto More videos
|
|
For advertising on this site Write to info@scegliauto.com
ScegliAuto is not responsible for any inaccuracy of the data in the lists. To report any inaccuracy or your business (if you own the business in question), please write to info@scegliauto.com
Number of seconds to generate the page: 0.138
(c) ScegliAuto 2026 - info@scegliauto.com - Privacy policy VAT number: IT01247470535 |
