
|
Do it yourself
| |||
| ||||


How to Replace the Rear Light of the Suzuki Swift
Model: Suzuki Swift
Rs41, AZG, MK 5
- Years 2010-2017
In this video, you will learn how to replace the rear light of the Suzuki Swift. First, open the boot of the car. Next, take a flathead (or crosshead) screwdriver and begin to unscrew the screws holding the light unit in place, as shown in the video. Once the screws are removed, gently pull the light unit from its housing. You may need to wiggle it a bit to remove it completely. Once the light unit is removed, change the bulb. When finished, reposition the light unit in its place and re-screw the screws.
Updated on 3 July 2026 by ScegliAuto
Video tutorial
Related tutorials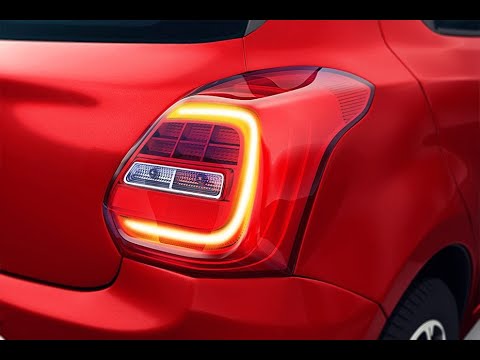
Suzuki Swift
(2017-2024 /
MK 6, A2L)
This guide briefly outlines the instructions to remove and replace the rear light and its bulbs on the Suzuki Swift. First, move to the rear and open…
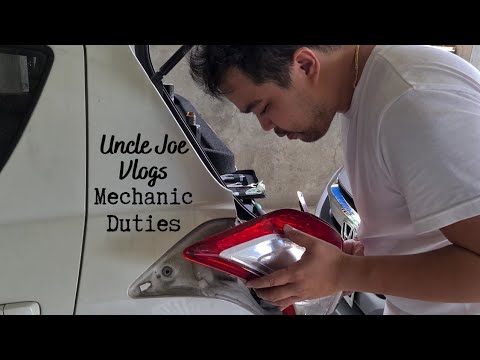
Suzuki Swift
(2010-2017 /
Rs41, AZG, MK 5)
Follow the procedure to remove and replace the rear light of the Suzuki Swift. First, open the boot and start unscrewing the two fixing screws locate…
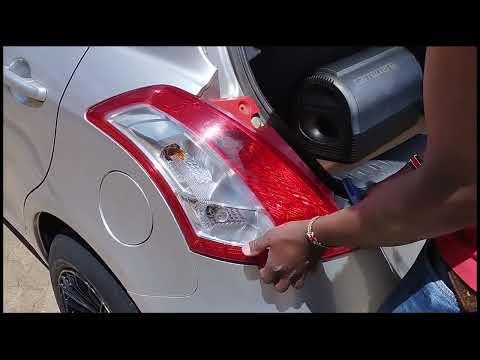
Suzuki Swift
(2010-2017 /
Rs41, AZG, MK 5)
In this short and simple guide, you will see how to remove and replace the bulbs of the rear light of the Suzuki Swift. First, move to the rear and o…
Other guides you may be interested in |
How to Open the Bonnet of a Renault Megane if the Lever is Broken?
If the lever that unlocks the bonnet of the Renault Megane is broken or not functioning, there is an emergency procedure to unlock the mechanism: remove the right front grille located at the top of the bumper. Once the grille is removed, you can locate the actuator mechanism: by pulling the spring in this position, you can unlock the actuator, allowing you to lift the bonnet and access the components located inside the engine compartment. You can then close the bonnet simply by lowering it. by ScegliAuto More videos
|
|
For advertising on this site Write to info@scegliauto.com
ScegliAuto is not responsible for any inaccuracy of the data in the lists. To report any inaccuracy or your business (if you own the business in question), please write to info@scegliauto.com
Number of seconds to generate the page: 0.599
(c) ScegliAuto 2026 - info@scegliauto.com - Privacy policy VAT number: IT01247470535 |
