
|
Do it yourself
| |||
| ||||


Updating the Navigation Software for Suzuki Sx4
Model: Suzuki Sx4
GY, MK 1, EY, RW
- Years 2006-2014
Suzuki recommends updating the navigation system every 12 months. In this article, we will see how to update the navigation system of a Suzuki SX4. First, check what type of satellite navigation system your Suzuki has. There are two options: Garmin or Bosch. In the first case, simply connect to www.Garmin.com/suzuki to update the software and maps. Before proceeding with the update, ensure that the country and language settings are correct using the button in the bottom right corner. Then, you can proceed with the update using the corresponding button in the top right corner. The maps and software will be updated automatically. In the second case, you will need the SD card, purchased from the appropriate website, and a USB stick. Insert it into the USB port; the screen will automatically display the option to select the download. Wait for the complete update without removing the SD card. Once the process is finished, you can view the updated maps using the navigation system's button.
Updated on 25 February 2026 by ScegliAuto
Video tutorial
Related tutorials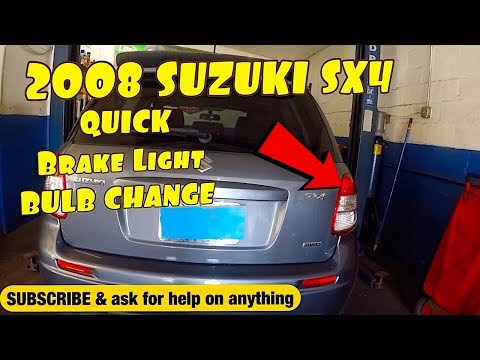
Suzuki Sx4
(2006-2014 /
GY, MK 1, EY, RW)
Changing the bulbs on a Suzuki Sx4? Remove the rear headlight bulbs on a Suzuki Sx4. Open the boot lid, and using a screwdriver, unscrew the securing…

Suzuki Sx4
(2006-2014 /
GY, MK 1, EY, RW)
It will be possible to replace the license plate bulb of the Suzuki SX4 by prying with an object to remove the device from its housing: once the old …

Suzuki Sx4
(2013-2021 /
JY, MK 2)
To reset the tire pressure on the Suzuki SX4, you can follow these general steps. Turn on the car: make sure all tires are inflated to the correct pr…
Other guides you may be interested in |
How to Check the Oil Level on a Jeep Renegade?
To check the oil level on a Jeep Renegade, you need to open the bonnet to access the components inside the engine bay: on the lower left side of the engine block, you will find the dipstick for checking the level. This should be pulled out and thoroughly cleaned with a cloth: once cleaned, reinsert it back into its tube and pull it out immediately after. This way, you can check that the oil mark is between the minimum and maximum levels; finally, you can place the dipstick back in its tube. by ScegliAuto More videos
|

|
For advertising on this site Write to info@scegliauto.com
ScegliAuto is not responsible for any inaccuracy of the data in the lists. To report any inaccuracy or your business (if you own the business in question), please write to info@scegliauto.com
Number of seconds to generate the page: 0.121
(c) ScegliAuto 2026 - info@scegliauto.com - Privacy policy VAT number: IT01247470535 |
