
|
Do it yourself
| |||
| ||||



How to replace the front headlight bulbs of the Toyota Aygo
Model: Toyota Aygo
Ab10, MK 1
- Years:
2005, 2006, 2007, 2008, 2009, 2010, 2011, 2012, 2013, 2014
This video is currently unavailable
Today we will explain how to replace the front headlight bulbs of the Toyota Aygo 1 on your own. To replace the bulbs, we need to lift the vehicle using a scaffolding, using a 10mm key we unscrew the bumper fastening elements. We unscrew the side screws of the bumper using a cross key and with the use of the clip removal tool, we remove the clips. We also unscrew the upper fastening elements of the bumper using a ratchet key with a 10 socket head and remove the bumper. We then proceed with the replacement of the bulb by unscrewing the headlight support using a ratchet key with a 10 socket head. We disconnect the headlight bulb connectors and clean the connectors with detergent before replacing the bulbs. We connect the connectors to the new bulbs and insert the headlight into its housing. We screw the fastening bolt and insert the bumper. We install the clips and tighten the side screws of the bumper. We screw the fastening elements and lower the vehicle to the ground.
Posted on 4 March 2025 by ScegliAuto
Related tutorials
Toyota Aygo
(2005-2014 /
Ab10, MK 1)
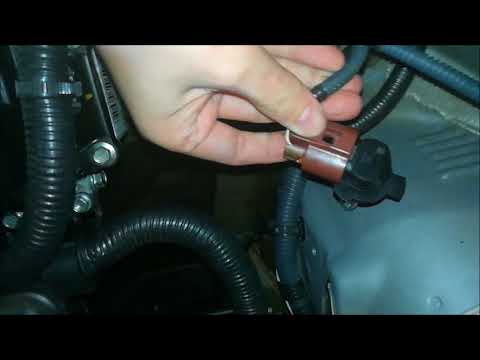
Today we will see the necessary instructions to remove and replace the headlight bulb of the Toyota Aygo. First, we open the hood of the car and star…
Toyota Aygo
(2014-2023 /
Ab40, MK 2)
Replacing the front headlamp bulb on your Toyota Aygo is a very simple, quick, and intuitive procedure. First, switch off the vehicle, pull the handb…

Toyota Aygo
(2014-2023 /
Ab40, MK 2)
To replace the front headlamp bulb on a Toyota Aygo, open the bonnet to access the interior of the engine compartment: here you will find the connect…
Other guides you may be interested in
|
How to Set the Clock on a Fiat Scudo
Setting the time on a Fiat Scudo is a simple and quick operation. First, turn on the vehicle's onboard computer and then press the SET button located on the dashboard. The settings menu will appear on the display; press the "+" button to select the "TIME" option using the "SET" button. Once in the clock menu, you can choose the format and adjust the hours and minutes by pressing the "+", "-" and "SET" buttons. When finished, return to the main menu and then turn off the ignition to complete the reset. by ScegliAuto More videos
|
|
For advertising on this site Write to info@scegliauto.com
ScegliAuto is not responsible for any inaccuracy of the data in the lists. To report any inaccuracy or your business (if you own the business in question), please write to info@scegliauto.com
Number of seconds to generate the page: 0.161
(c) ScegliAuto 2026 - info@scegliauto.com - Privacy policy VAT number: IT01247470535 |
