
|
Do it yourself
| |||
| ||||


Service Light Reset Instructions
Model: Toyota Rav 4
MK 3, Xa30
- Years 2006-2013
If the SERVICE warning light is illuminated on the instrument cluster, it means it's time for maintenance. After performing the regular maintenance by changing the engine oil and the corresponding filter, reset the SERVICE light: this is a manual procedure done through the trip reset button. First, turn on the ignition and press the trip reset button until you see the TRIP A indication, then turn off the ignition. Press and hold the same button, and turn the ignition back on, continuing to hold until the light goes out.
Updated on 18 February 2026 by ScegliAuto
Video tutorial
Related tutorials
Toyota Rav 4
(2013-2018 /
MK 4, Xa40)
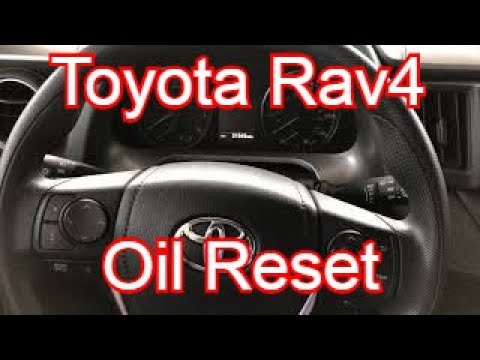
Following these brief and simple instructions, we will see how to reset the service maintenance light for the regular oil change on the Toyota RAV 4.…
Toyota Rav 4
(2013-2018 /
MK 4, Xa40)
This video shows that as we approach the mileage for the scheduled service, a warning appears on the display of the Toyota Rav4 instrument panel to r…

Toyota Rav 4
(2025-2026 /
Xa60)
Today we will see the instructions that will allow us to reset the tyre pressure light on the Toyota RAV4; before resetting the TPMS sensors, ensure …
Other guides you may be interested in
|
Frequently Asked QuestionsHow to Connect the Cables to the Battery of the Citroen Xsara Picasso?
In this tutorial, you will see how to connect the cables to the battery of the Citroen Xsara Picasso, useful if you need to recharge it or perform an emergency start. First, ensure the key is not inserted, then open the bonnet and move to the front of the left headlamp. Next, locate the bolt just behind the filter box and connect the positive terminal clamp to it. Now you can connect the negative terminal to any point on the chassis, such as the indicated point. Once the operation is complete, ensure you disconnect the negative first and then the positive. by ScegliAuto More videos
|
|
For advertising on this site Write to info@scegliauto.com
ScegliAuto is not responsible for any inaccuracy of the data in the lists. To report any inaccuracy or your business (if you own the business in question), please write to info@scegliauto.com
Number of seconds to generate the page: 0.317
(c) ScegliAuto 2026 - info@scegliauto.com - Privacy policy VAT number: IT01247470535 |
