
|
Do it yourself
| |||
| ||||


How to Repair Burns and Holes on Leather and Vinyl with Coconix
Model: (Various brands) Various
What you need to repair tears or burns on a leather or vinyl seat is a Coconix Kit, which can be found on Amazon with code B07QVFFV5P at a price of £14.99. Everything you need for the repair is included in the package; you will only need a craft knife: trim the frayed edges, and clean the area thoroughly to degrease it. Cut a piece of backing fabric, wider than the hole, round the corners to prevent them from lifting, and insert it into the hole. Mix the colours to achieve the closest shade to the original: apply a first layer under the edges and around the hole, pushing it with a spatula, then fill the hole with the coloured compound. Wait for the second layer to be almost dry and press down on a piece of film to reconstruct the texture. Allow it to dry overnight and polish the edges with denatured alcohol.
Posted on 13 February 2026 by ScegliAuto
Video tutorial
Related tutorials
(Various brands) Various
Today we will explain how to repair a hole in the seat using the ATG kit. The kit is available in various colors and can be purchased online. We remo…
(Various brands) Various
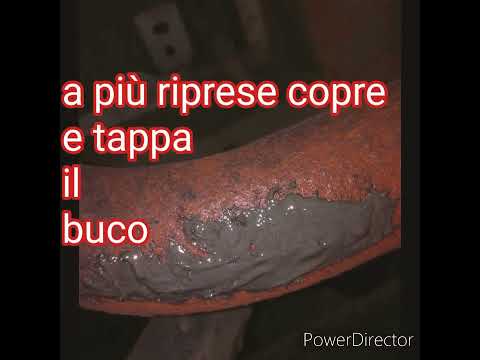
When you have holes in the exhaust pipes or the silencer, you can repair them using a specific product that is essentially a liquid metal; it is like…

(Various brands) Various
In this video, we recommend the Coconix Kit, which consists of repair fibres, textile glue, a spatula, elastic mesh, a mixing jar with a metal ball, …
Other guides you may be interested in
|
How to replace the horn on a Renault Duster - Dacia Duster
Today's main instructions will show you the procedure for removing and replacing the horn or sound signal on the Renault Duster, as well as the Dacia Duster. First, open the bonnet of the vehicle and start removing the front bumper by unscrewing all the fixing screws; you will find the horn right in front of the radiator, as shown in the video. At this point, disconnect the electrical connector and unscrew the bracket screw to remove and replace the horn with the new one; finally, reassemble the front bumper! by ScegliAuto More videos
|
|
For advertising on this site Write to info@scegliauto.com
ScegliAuto is not responsible for any inaccuracy of the data in the lists. To report any inaccuracy or your business (if you own the business in question), please write to info@scegliauto.com
Number of seconds to generate the page: 0.970
(c) ScegliAuto 2026 - info@scegliauto.com - Privacy policy VAT number: IT01247470535 |
