
|
Do it yourself
| |||
| ||||


Wiring Diagram for Front Headlights: How to Connect a Relay
Model: (Various brands) Various
Video tutorial
The aim of the video is to use the relay to pass direct current from the battery to the headlight bulbs, using the original switch only as a "command" to activate the relay. This improves efficiency and brightness. A standard relay usually has 5 pins (like the one in the video) connected as follows: PIN 30 (Power IN) connect this PIN via a 15/20A fuse for each headlight, directly to the positive terminal of the battery. This will power the headlights. PIN 87 (Power OUT) connect this PIN to the positive wires of the front headlights. Usually, the original positive wire going to the headlights is cut and connected to this PIN. PIN 86 (command+) connect this PIN to the control source. This will be the wire that provides +12V when the switch turns on the headlights; it can be the positive wire for the dipped beam or main beam, depending on what you want to control. PIN 85 (command-/ground) connect this PIN to a good, clean chassis ground. The 5th PIN 87a is not used in this diagram.
Posted on 17 April 2026 by ScegliAuto
Related tutorials
(Various brands) Various
In this drawing we see a standard 4-pin relay, marked with numbers: 30 is the power supply directly from the battery; 85 and 86 are the control coil,…

(Various brands) Various
Learn how to remove the front headlight bulbs of your car. Lift the front bonnet to access the rear of the headlight. Remove the plastic cover (at th…

(Various brands) Various
In this video, we will see how to install a tow bar for the car, describing the mechanical part, which involves (and varies depending on the model of…
Other guides you may be interested in
|
How to Open the Fuel Flap on a Volkswagen Tiguan?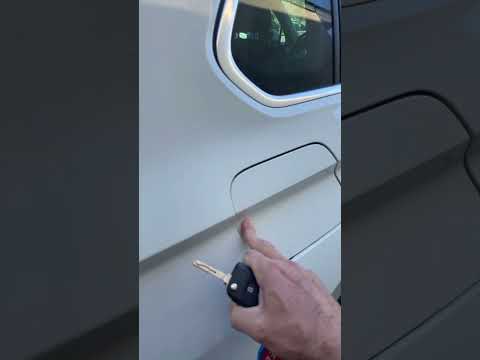
To open the fuel flap on a Volkswagen Tiguan, first unlock the car using the appropriate button on the remote. This will open the car and unlock the mechanism that controls the fuel flap. At this point, apply light pressure to the left side of the flap to open it and access the cap underneath. Once this is unscrewed, you can refuel and then close everything. by ScegliAuto More videos
|
|
For advertising on this site Write to info@scegliauto.com
ScegliAuto is not responsible for any inaccuracy of the data in the lists. To report any inaccuracy or your business (if you own the business in question), please write to info@scegliauto.com
Number of seconds to generate the page: 0.124
(c) ScegliAuto 2026 - info@scegliauto.com - Privacy policy VAT number: IT01247470535 |
