
|
Do it yourself
| |||
| ||||


How to Install LED Number Plate Bulbs on a Liberty MOC Scooter
Model: (Various brands) Various
In this video tutorial, you will see how to install LED number plate bulbs on a 2015 Liberty MOC scooter. The first step is to remove the Stop light. To do this, you need to take off the two side panels and the rear rack using an Allen key. Then, locate the screws for the Stop light. Once these parts are removed, you will have access to the Stop light and can pull it out of its housing. Next, disconnect the three connections. Now, take the positive and negative wires from the Stop light and bring them down to connect the LEDs underneath. Use a small screwdriver to remove the plastic. You can now insert the LEDs into the plastic; use a drill to make holes (enlarge the holes to 6.5 mm for all three). Place the supports in the holes made in the plastic and insert the three LEDs. Finally, secure them with hot glue to prevent movement. Solder the positive and negative wires to a 25 cm wire (insulate them with electrical tape). Connect the black wire to the central part and the positive to the yellow wire, so when you turn on the scooter, it provides power immediately, and when the Stop light is on, the LEDs will also light up.
Updated on 14 July 2026 by ScegliAuto
Video tutorial
Related tutorials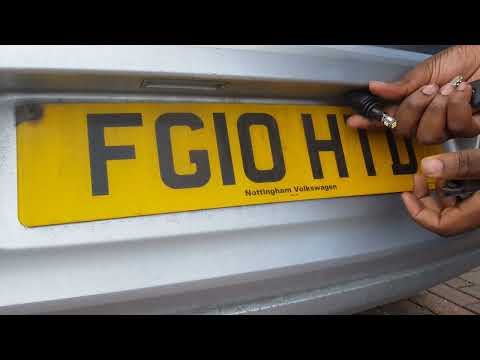
(Various brands) Various
Learn how to replace the number plate light bulb. Remove the number plate light unit located in the rear bumper of the vehicle. Pry at the sides of t…
(Various brands) Various
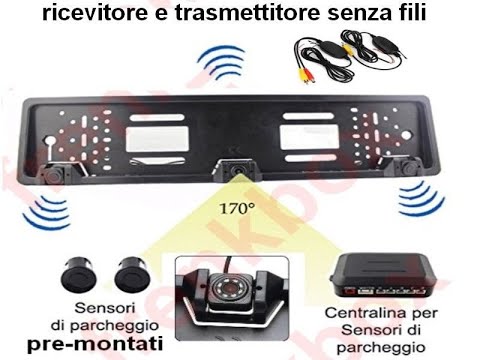
If you want to install the rear camera on the number plate holder along with the parking sensors, you can find instructions on how to connect and mou…

(Various brands) Various
In this video we see how to install H7 bulbs correctly: first of all, to remove the bulb we will need to unlock the spring and remove the H7 halogen …
Other guides you may be interested in
|
How to Open the Bonnet on the Lancia Y
To open the bonnet on this vehicle, follow these simple instructions: first, open the driver's door and locate the lever positioned just below the dashboard, marked with an image of the vehicle with the bonnet open. Pull this lever towards you until you hear a "click" indicating the bonnet is released. Next, exit the cabin and stand in front of the bonnet to disengage the safety catch and complete the opening. To do this, slightly lift the bonnet, locate the yellow lever underneath, and pull it to the left to fully release and open the bonnet. by ScegliAuto More videos
|
|
For advertising on this site Write to info@scegliauto.com
ScegliAuto is not responsible for any inaccuracy of the data in the lists. To report any inaccuracy or your business (if you own the business in question), please write to info@scegliauto.com
Number of seconds to generate the page: 0.809
(c) ScegliAuto 2026 - info@scegliauto.com - Privacy policy VAT number: IT01247470535 |
