
|
Do it yourself
| |||
| ||||


Euro NCAP Test Results for the M.GO Microcar
Model: (Various brands) Various
Video tutorial
In this video, we can see the results of the crash tests conducted by Euro NCAP on the M.GO microcar. Without any bias against the brand, we want to draw attention to many parents who consider these small cars safer for their children compared to scooters. The mere fact of having a roof over their heads and not getting wet on rainy days does not automatically make them safer, as clearly shown in the footage: the test results are clear; this vehicle was awarded only one star, and both the frontal and side impact results are quite disappointing.
Updated on 30 September 2026 by ScegliAuto
Related tutorials
(Various brands) Various
In this video, we see an experiment conducted by Euro NCAP on a microcar. Since these small vehicles are all similar, it makes no sense to blame one …
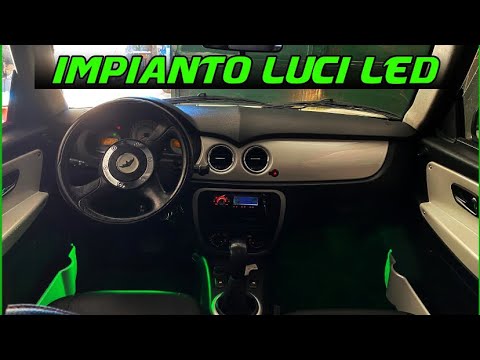
(Various brands) Various
Microcar enthusiasts love to install LED lights that sync with the music from their stereo systems. You can find these lights on Amazon under code gp…
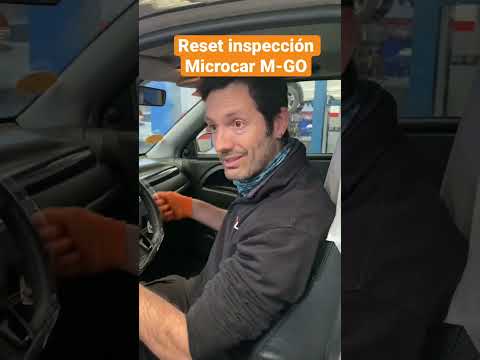
(Various brands) Various
Here are the main instructions on how to reset the regular maintenance warning light for the engine oil change on the Microcar M-GO. First, get into …
Other guides you may be interested in |
Frequently Asked QuestionsHow to Remove the Rear Seat of a Hyundai Tucson?
To remove the rear seat of a Hyundai Tucson, follow these steps. Start by moving the front seats to their most forward position to gain space. Next, locate the release lever on the underside of the rear seat, near the floor. Press this lever down while pulling the seat upwards to unlock it from the anchor pins. Once unlocked, tilt the seat upwards and forwards to remove it from its position. Repeat this process for both sides of the rear seat. Be careful of any electrical cables or components that may be connected to the seat during removal. Once the rear seat is removed, the disassembly is complete. by ScegliAuto More videos
|
|
For advertising on this site Write to info@scegliauto.com
ScegliAuto is not responsible for any inaccuracy of the data in the lists. To report any inaccuracy or your business (if you own the business in question), please write to info@scegliauto.com
Number of seconds to generate the page: 0.065
(c) ScegliAuto 2026 - info@scegliauto.com - Privacy policy VAT number: IT01247470535 |
