
|
Do it yourself
| |||
| ||||


How to reset the service indicator on the 2015 Volkswagen Crafter
Model: Volkswagen Crafter
2E, 2F, MK 1
- Years 2006-2017
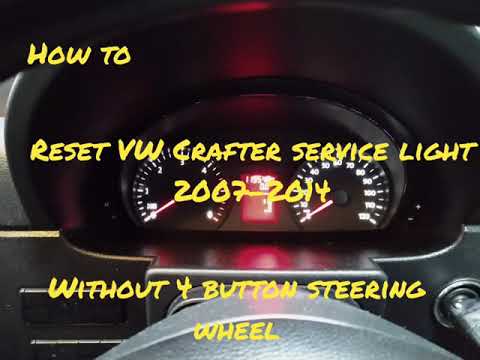
To manually reset the service light on the instrument panel of your 2015 Volkswagen Crafter, you must follow the following procedure. First, reach the driver's seat inside the vehicle and turn on the instrument panel, then locate the buttons on the left side of the steering wheel. Press the button with the downward arrow several times and focus on the screen displaying the coolant temperature. Hold down the button located at the bottom left corner of the panel and release it as soon as the new screen appears. Finally, locate the option for vehicle maintenance and hold down the same button used earlier to perform the reset.
Posted on 6 February 2025 by ScegliAuto
Video tutorial
Related tutorials
Volkswagen Crafter
(2017-2026 /
SZ, SY, MK 2)
To reset the AdBlue warning light on the Volkswagen Crafter, you must first top up the necessary amount of additive liquid into the corresponding tan…
Volkswagen Crafter
(2006-2017 /
2E, 2F, MK 1)
Resetting the service light on a Volkswagen Crafter van, as shown in this tutorial, is an extremely simple and quick operation. Before proceeding, en…

Volkswagen Crafter
(2006-2017 /
2E, 2F, MK 1)
Good morning, today we are here to discover how to reset the "Service" light on our Volkswagen Crafter. Let's start by sitting in the driver's seat o…
Other guides you may be interested in
|
How to Connect the Cables to the Battery of the Citroen Xsara Picasso?
In this tutorial, you will see how to connect the cables to the battery of the Citroen Xsara Picasso, useful if you need to recharge it or perform an emergency start. First, ensure the key is not inserted, then open the bonnet and move to the front of the left headlamp. Next, locate the bolt just behind the filter box and connect the positive terminal clamp to it. Now you can connect the negative terminal to any point on the chassis, such as the indicated point. Once the operation is complete, ensure you disconnect the negative first and then the positive. by ScegliAuto More videos
|
|
For advertising on this site Write to info@scegliauto.com
ScegliAuto is not responsible for any inaccuracy of the data in the lists. To report any inaccuracy or your business (if you own the business in question), please write to info@scegliauto.com
Number of seconds to generate the page: 0.066
(c) ScegliAuto 2026 - info@scegliauto.com - Privacy policy VAT number: IT01247470535 |
