
|
Do it yourself
| |||
| ||||


Noisy distribution chain of a Volkswagen 1.4 TSI engine
Model: Volkswagen Golf
MK 5, Golf 5, Golf V
- Years 2003-2008
In this video, we hear the noise of the timing chain of a Volkswagen Golf 1.4 TSI 122 hp with 100,000 km. The noise was produced when cold and lasted for about two/three seconds, then disappeared. This indicates wear of the timing chain group, tensioner and gears. As long as the noise is only sporadically heard, it is still possible to travel, as the YouTuber has used the car without any problems for almost a year. When the problem started to occur daily, he promptly booked a maintenance intervention at the Volkswagen service, where the timing chain group was replaced due to the chain stretching, imperfect functioning of the hydraulic tensioner (kit including chain, tensioner, guides, gears, phase variator, gaskets).
Posted on 10 February 2025 by ScegliAuto
Video tutorial
Related tutorials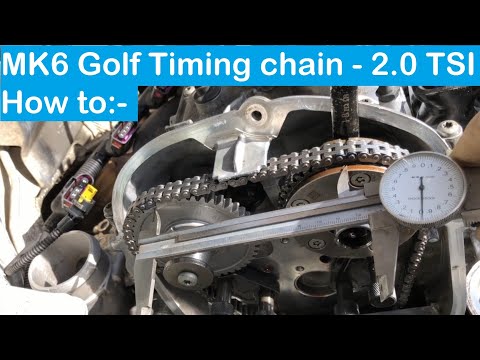
Volkswagen Golf
(2008-2012 /
MK 6, Golf VI, Golf 6, 5K1)
Today's guide will show us the main steps on how to disassemble and replace the timing chain of the Volkswagen Golf GTI 2.0 TSI. First, we open the h…
Volkswagen Golf
(2003-2008 /
MK 5, Golf 5, Golf V)
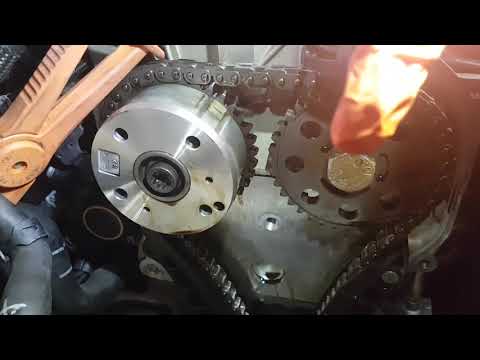
To replace the timing chain on a Volkswagen Golf 1.4 TSI, remove the side covers and any obstructing parts that prevent access to the pulleys and the…

Volkswagen Golf
(2003-2008 /
MK 5, Golf 5, Golf V)
Today, we discover the instructions on how to remove and replace the timing chain on a Volkswagen Golf 1.4 TSI. First, open the vehicle's bonnet and …
Other guides you may be interested in
|
How to Connect the Cables to the Battery of the Citroen Xsara Picasso?
In this tutorial, you will see how to connect the cables to the battery of the Citroen Xsara Picasso, useful if you need to recharge it or perform an emergency start. First, ensure the key is not inserted, then open the bonnet and move to the front of the left headlamp. Next, locate the bolt just behind the filter box and connect the positive terminal clamp to it. Now you can connect the negative terminal to any point on the chassis, such as the indicated point. Once the operation is complete, ensure you disconnect the negative first and then the positive. by ScegliAuto More videos
|
|
For advertising on this site Write to info@scegliauto.com
ScegliAuto is not responsible for any inaccuracy of the data in the lists. To report any inaccuracy or your business (if you own the business in question), please write to info@scegliauto.com
Number of seconds to generate the page: 0.076
(c) ScegliAuto 2026 - info@scegliauto.com - Privacy policy VAT number: IT01247470535 |
