
|
Do it yourself
| |||
| ||||


How to replace the electric motor of the front headlight of the Volkswagen Golf 4.
Model: Volkswagen Golf
Golf IV, Golf 4, MK 4
- Years:
1997, 1998, 1999, 2000, 2001, 2002, 2003
Video tutorial
Today we will explain how to replace the electric motor of the front headlight of the 1999 Volkswagen Golf 4. The electric motor is responsible for adjusting the height of the headlights. To replace the motor, we need to remove the headlight from the vehicle and then, after positioning ourselves on a work surface, remove the cap of the light fixture. To remove the motor, we need to rotate it counterclockwise, insert our hand at the base of the motor to push it outwards, and remove it after disconnecting the connector. The motor can be replaced with a second-hand one as shown in the video example. To install the motor, we need to insert it into its hole and rotate it clockwise, pushing it inwards. Once the connector is connected, we can close the light fixture cap. After mounting the headlight in its housing, we can adjust the height of the headlight to ensure that the motor is working correctly.
Posted on 17 February 2025 by ScegliAuto
Related tutorials
Volkswagen Golf
(2019-2026 /
MK 8, Golf 8, Golf Viii)
In this video, we present the Volkswagen E-Golf, the all-electric (and somewhat versatile) model from Volkswagen. The Golf is now one of the most rec…

Volkswagen Golf
(1997-2003 /
Golf IV, Golf 4, MK 4)
In this tutorial, see how to replace the electric window regulator motor in a Volkswagen Golf, a very simple operation. First, remove the door panel.…
Volkswagen Golf
(2012-2019 /
MK 7, Golf 7, Golf VII)
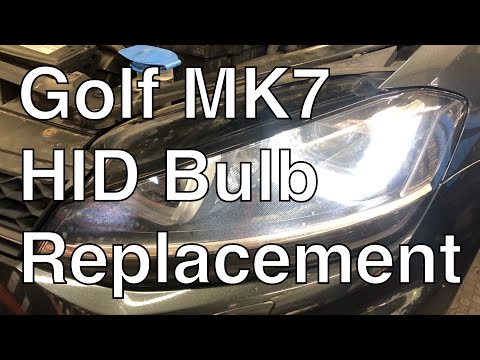
Replacing the front headlight on a Volkswagen Golf 7 is not as straightforward as one might think; however, the task is perfectly feasible even for a…
Other guides you may be interested in
|
How to Reset the Tire Pressure Light on a MG ZS?
On the instrument cluster of the MG ZS, the tire pressure light that appears can be reset by inflating the tires to the correct pressure: this value will be indicated on the sticker attached to the driver's door pillar. Once the tires have been properly inflated, you can turn on the instrument cluster and navigate through the menu until you find the option that indicates tire pressure: if this screen shows the new values, the light will turn off; otherwise, you will need to drive for a few miles so that the sensors can read the new values and turn off the light afterward. by ScegliAuto More videos
|
|
For advertising on this site Write to info@scegliauto.com
ScegliAuto is not responsible for any inaccuracy of the data in the lists. To report any inaccuracy or your business (if you own the business in question), please write to info@scegliauto.com
Number of seconds to generate the page: 0.071
(c) ScegliAuto 2026 - info@scegliauto.com - Privacy policy VAT number: IT01247470535 |
