
|
Do it yourself
| |||
| ||||


How to Remove the Air Conditioning Compressor on a Volkswagen Golf
Model: Volkswagen Golf
MK 5, Golf 5, Golf V
- Years 2003-2008
In this video, we will explain how to remove the air conditioning compressor on a Volkswagen Golf. Open the bonnet and secure it, then detach the plastic rivets and remove the air intake. Using a suitable socket wrench, remove the plates that secure the radiator at the top, then lift the car onto a column lift (if necessary). Remove the horizontal pipe from the radiator using pliers, then use a spanner to unscrew the large hose from the top of the car. Once free from screws and pipes, you can proceed to remove the air compressor in the engine bay. At this point, unscrew the bolts on the base in the engine bay to free the air compressor, then unscrew it along with the attached belt (compare it with the new one and check for correct operation). Prepare to install the new part in the engine bay, connect the belts, terminals, and tighten securely with a socket wrench. Install the new compressor with all bolts and various pipes.
Updated on 2 March 2026 by ScegliAuto
Video tutorial
Related tutorials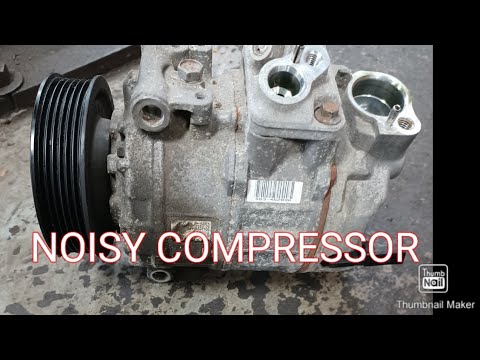
Volkswagen Golf
(2008-2012 /
MK 6, Golf VI, Golf 6, 5K1)
To replace the air conditioning compressor on a Volkswagen Golf, open the bonnet to access the components inside the engine bay: the compressor is lo…

Volkswagen Golf
(1997-2003 /
Golf IV, MK 4, Golf 4)
Today's instructions will allow us to disassemble and replace the air conditioning compressor of the Volkswagen Golf 1.9 TDI. First, let's open the h…

Volkswagen Golf
(2003-2008 /
MK 5, Golf 5, Golf V)
To replace the air conditioning compressor of a Volkswagen Golf, open the bonnet to access the engine bay. The compressor is located at the front of …
Other guides you may be interested in
|
How to change the time on a Toyota Yaris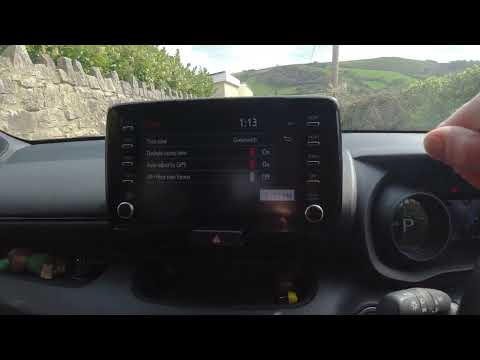
In this video we see how to change the time on a Toyota Yaris, specifically when it comes to switching from daylight saving time to standard time and vice versa. We go to the multifunction screen and press "settings": from there we go to press the clock, simply click on daylight saving time, and the clock will change the time for us, without doing anything else. All we want to do is just adjust the time format to 12 or 24 hours, as is customary in the area where we live: for example in Anglo-Saxon countries it is common to set the time to 12 hours, while in the European Union it is normally set to 24 hours. by ScegliAuto More videos
|
|
For advertising on this site Write to info@scegliauto.com
ScegliAuto is not responsible for any inaccuracy of the data in the lists. To report any inaccuracy or your business (if you own the business in question), please write to info@scegliauto.com
Number of seconds to generate the page: 0.162
(c) ScegliAuto 2026 - info@scegliauto.com - Privacy policy VAT number: IT01247470535 |
