
|
Do it yourself
| |||
| ||||


How to replace the front headlight bulbs of the Volkswagen Tiguan
Model: Volkswagen Tiguan
5N, MK 1
- Years 2007-2016
The following video tutorial shows us the steps to replace the headlight bulbs of the Volkswagen Tiguan 1. The model we will use for the replacement is a 12-volt H7 bulb from the brand BOLK. We open the front hood and remove the cover on the grille side to replace the position bulb. We grab the bulb connector and rotate it counterclockwise to remove the bulb. We insert the new bulb and the connector into the headlight housing, rotating a quarter turn clockwise to lock the bulb and connector; we put back the plastic cover. To replace the turn signal bulb, we need to grab the holder and disconnect the connector from the bulb. We connect the new bulb to the connector and insert it from the inside. To replace the low beam bulb, we remove the cover and pull the bulb outwards, disconnecting the connector. We connect the connector to the new bulb and insert everything into the headlight. We mount the cover and close the hood.
Posted on 7 June 2025 by ScegliAuto
Video tutorial
Related tutorials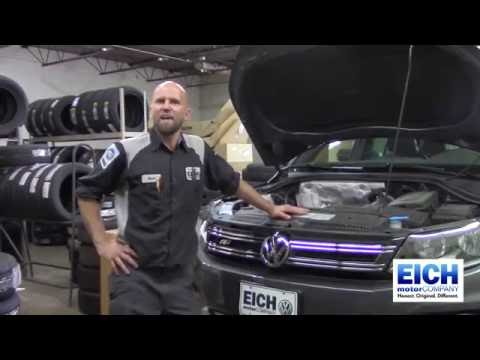
Volkswagen Tiguan
(2007-2016 /
5N, MK 1)
In this tutorial, you will see how to replace the headlight bulbs on a Volkswagen Tiguan, a very simple and quick operation. First, ensure that the k…

Volkswagen Tiguan
(2016-2025 /
BW, MK 2, AD)
Replacing the front headlight bulbs in the Volkswagen Tiguan, as we can see in this tutorial, is an extremely simple and fast operation. First of all…
Volkswagen Tiguan
(2007-2016 /
5N, MK 1)
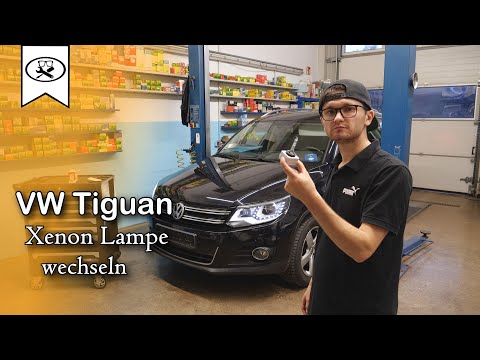
As shown in this tutorial, replacing the front headlight bulbs on a Volkswagen Tiguan is an extremely simple and quick task. First, ensure that the k…
Other guides you may be interested in
|
Where is the Spare Wheel in the Peugeot 5008?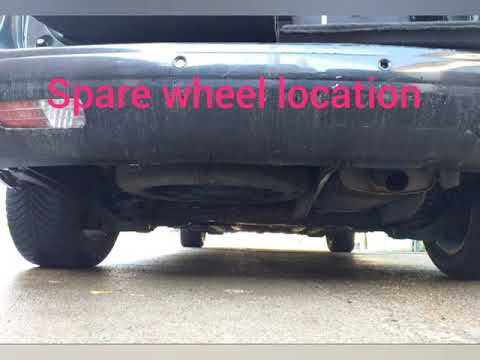
This video shows where the spare wheel is located in the Peugeot 5008 and how to access it, useful in case of a puncture. As shown, the wheel is not in the usual boot compartment but underneath it, outside the vehicle. To free the wheel, first gather the tools provided, then open the boot, locate the small indicated hatch, and open it. Next, loosen the bolt just released using the large socket wrench enough to lower the wheel to the ground. by ScegliAuto More videos
|

|
For advertising on this site Write to info@scegliauto.com
ScegliAuto is not responsible for any inaccuracy of the data in the lists. To report any inaccuracy or your business (if you own the business in question), please write to info@scegliauto.com
Number of seconds to generate the page: 0.149
(c) ScegliAuto 2026 - info@scegliauto.com - Privacy policy VAT number: IT01247470535 |
