
|
Do it yourself
| |||
| ||||


Volkswagen Golf 5 and the fuel pump fuse: position No. 6 (5A) and replacement.
Model: Volkswagen Golf
MK 5, Golf 5, Golf V
- Years 2003-2008
On the Volkswagen Golf 5, access to the fuse box is achieved by removing the cover at the indicated point. Then, locate position No. 6, which corresponds to the fuel pump and its 5A fuse. For the intervention, turn off the ignition and use a fuse puller or tweezers; the fuse is pulled out straight and visually inspected, then replaced with one of the same amperage if it is blown. Once the work is completed, replace the cover and check that power is restored to the pump by turning the ignition to ON. If the fuse blows again, it is advisable to investigate for short circuits or abnormal current draws along the pump circuit and its relay/control.
Posted on 6 December 2025 by ScegliAuto
Video tutorial
Related tutorials
Volkswagen Golf
(2003-2008 /
MK 5, Golf 5, Golf V)
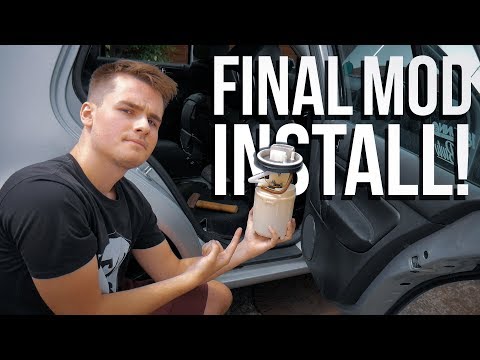
Today's guide will show you how to dismantle and replace the fuel pump on a Volkswagen Golf in simple and quick steps. First, open the rear doors and…

Volkswagen Golf
(1991-1997 /
Golf III, MK 3, Golf 3)
In this video tutorial, you will learn how to remove the fuel pump from a Volkswagen Golf Mk3. First, open the boot and remove the upper cover; then …
Volkswagen Golf
(1997-2003 /
Golf IV, MK 4, Golf 4)
In this video tutorial, you will learn how to remove the fuel pump assembly from a fourth-generation Volkswagen Golf. First, remove the rear seat to …
Other guides you may be interested in
|
Frequently Asked QuestionsHow to change the time on a Toyota Yaris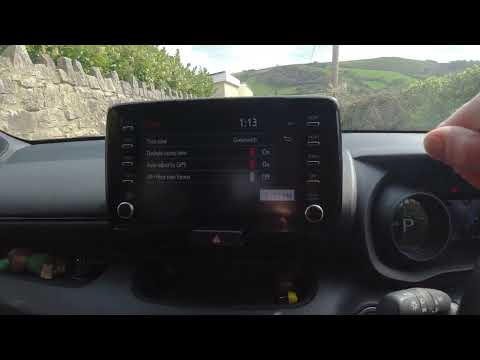
In this video we see how to change the time on a Toyota Yaris, specifically when it comes to switching from daylight saving time to standard time and vice versa. We go to the multifunction screen and press "settings": from there we go to press the clock, simply click on daylight saving time, and the clock will change the time for us, without doing anything else. All we want to do is just adjust the time format to 12 or 24 hours, as is customary in the area where we live: for example in Anglo-Saxon countries it is common to set the time to 12 hours, while in the European Union it is normally set to 24 hours. by ScegliAuto More videos
|
|
For advertising on this site Write to info@scegliauto.com
ScegliAuto is not responsible for any inaccuracy of the data in the lists. To report any inaccuracy or your business (if you own the business in question), please write to info@scegliauto.com
Number of seconds to generate the page: 0.154
(c) ScegliAuto 2026 - info@scegliauto.com - Privacy policy VAT number: IT01247470535 |
