
|
Do it yourself
| |||
| ||||


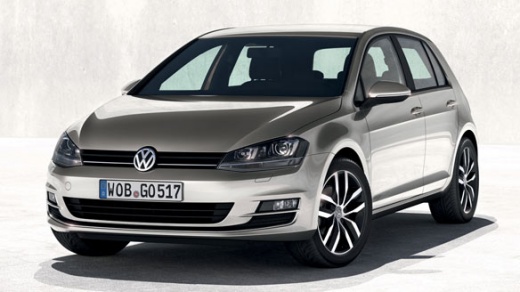
How to replace the diesel filter on a Volkswagen Golf VII
Model: Volkswagen Golf
MK 7, Golf 7, Golf VII
- Years:
2012, 2013, 2014, 2015, 2016, 2017, 2018, 2019
Video tutorial
Let's see how to replace the diesel filter of a Volkswagen Golf VII. It is located in the engine compartment, near the windshield, on the right side, in a cylindrical housing with a bayonet cap. To unlock the cap, we use a flat screwdriver to lift the locking tab, as we see in the video, then unscrew the cap counterclockwise. We extract the old filter, being careful of any diesel that may still leak out while removing it with a special syringe. We thoroughly clean the inside of the tank from any residues or water (especially if the filter has a built-in water sensor). We immerse the new filter in clean diesel to facilitate priming and insert it into the housing, making sure that the gasket is in place. We pour clean diesel into the tank until it covers the filter, then close the cap tightly. Now we turn on the ignition and let the engine run for 10/15 seconds; repeat 2/3 times until the system fills up and the engine holds idle.
Posted on 17 January 2026 by ScegliAuto
Related tutorials
Volkswagen Golf
(2012-2019 /
MK 7, Golf 7, Golf VII)
How to replace the diesel filter on a Volkswagen Golf 7? In this guide, we will see how to proceed: open the car door and pull up the engine compartm…

Volkswagen Golf
(2008-2012 /
Golf 6, MK 6, 5K1, Golf VI)
In this guide, you will find instructions to remove and replace the fuel filter on a Volkswagen Golf 1.6. First, lift the vehicle and locate the fuel…

Volkswagen Golf
(2012-2019 /
MK 7, Golf 7, Golf VII)
In today's video, we will see how to replace the fuel filter on a Volkswagen Golf 7. Open the engine bonnet. Locate the unit on your left; unscrew th…
Other guides you may be interested in
|
How to Open the Bonnet on the Mitsubishi L200?
In this tutorial, you will see how to open the bonnet on the Mitsubishi L200, a very simple operation that follows the standard procedure. First, open the vehicle and go to the driver's side, then locate the lever at the lower outer area, just in front of the pedals, and pull it. Next, position yourself in front of the bonnet, locate the second lever above the Mitsubishi logo, and push it to the right, releasing the latch. At this point, you can fully lift the bonnet and secure it with the prop rod. by ScegliAuto More videos
|
|
For advertising on this site Write to info@scegliauto.com
ScegliAuto is not responsible for any inaccuracy of the data in the lists. To report any inaccuracy or your business (if you own the business in question), please write to info@scegliauto.com
Number of seconds to generate the page: 0.062
(c) ScegliAuto 2026 - info@scegliauto.com - Privacy policy VAT number: IT01247470535 |
