
|
Do it yourself
| |||
| ||||


How to Replace the EGR Valve on a Volkswagen Lupo
Model: Volkswagen Lupo
MK 1
- Years 1998-2005
To replace the EGR valve on a Volkswagen Lupo, open the bonnet and locate the valve near the intake manifold, connected to the exhaust gas ducts. Before starting, disconnect the negative terminal of the battery for safety. Remove any engine covers and disconnect the electrical connector of the EGR valve along with the attached pipes or hoses. Next, unscrew the bolts securing the valve to the engine and exhaust manifold, then carefully extract it from its seat. Before installing the new component, thoroughly clean the contact surfaces and replace the gaskets if necessary. Then, fit the new EGR valve following the reverse order of disassembly, reconnect the connectors and pipes, and check the engine's proper functioning after starting.
Posted on 19 May 2026 by ScegliAuto
Video tutorial
Related tutorials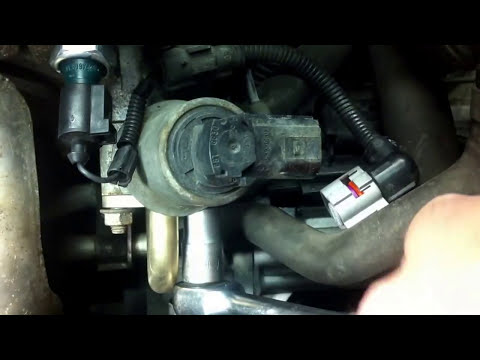
Volkswagen Lupo
(1998-2005 /
MK 1)
The EGR valve functions to introduce some exhaust gases into the intake to reduce emissions: constant contact with exhaust gases leads to clogging ov…

Volkswagen Lupo
(1998-2005 /
MK 1)
If you own a Volkswagen Lupo and want to manually reset the service light yourself, you just need to follow the following procedure. First of all, re…
Volkswagen Lupo
(1998-2005 /
MK 1)
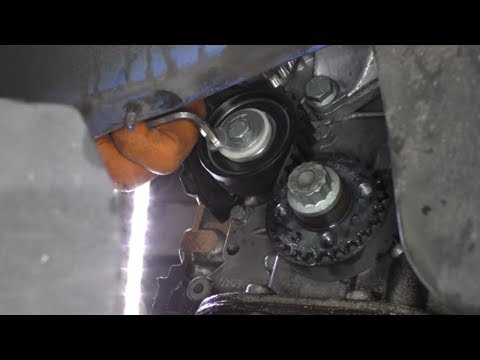
Let's briefly go over the instructions for removing and replacing the timing belt on the Volkswagen Lupo 1.0. First, open the bonnet and start by rem…
Other guides you may be interested in
|
How to Remove the Front Bumper of the Citroën C4 Picasso?
To remove the front bumper of the Citroën C4 Picasso, you need to take out all the rivets and screws that secure the piece to its housing: these screws are located inside the wheel arches of the front wheels and at the central upper part of the bumper itself. Once all these fastening elements have been removed, you can detach the bumper from its seat by disconnecting the connectors inside and then insert the new replacement part. The new part can then be secured and connected properly, ensuring it is correctly fixed in place. by ScegliAuto More videos
|
|
For advertising on this site Write to info@scegliauto.com
ScegliAuto is not responsible for any inaccuracy of the data in the lists. To report any inaccuracy or your business (if you own the business in question), please write to info@scegliauto.com
Number of seconds to generate the page: 0.136
(c) ScegliAuto 2026 - info@scegliauto.com - Privacy policy VAT number: IT01247470535 |
