
|
Do it yourself
| |||
| ||||



An Affordable Update for the Volkswagen Up! Interior
Model: Volkswagen Up
MK 1
- Years:
2011, 2012, 2013, 2014, 2015, 2016, 2017, 2018, 2019, 2020, 2021, 2022
Video tutorial
A simple and cost-effective way to give a much more refined look to your Volkswagen Up! is to apply flexible and durable self-adhesive tape designed for car interiors, which is heat and UV resistant. It can be removed without leaving any residue. Although the work in the video is done without removing anything, it is advisable to achieve a cleaner job by removing the trim (which is a very simple task) using a plastic spatula. Clean it with soap and water and degrease it with isopropyl alcohol. Cut a generous piece of tape, apply it, and then trim the excess with a new utility knife, or slide a nylon thread under the excess vinyl and saw it by pulling the thread towards you; then reassemble the trim and you're done.
Posted on 2 July 2026 by ScegliAuto
Related tutorials
Volkswagen Up
(2011-2024 /
MK 1)
The instructions in this guide will show us the positioning and the diagram of the internal fuses of the Volkswagen Up. First, let's get on board the…
Volkswagen Up
(2011-2024 /
MK 1)
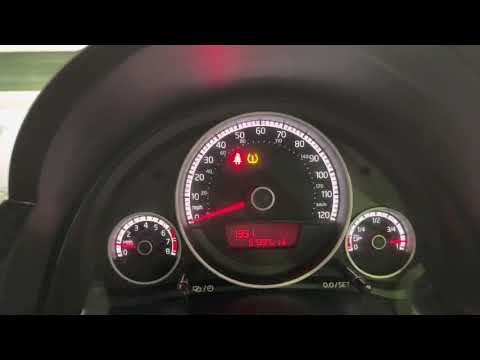
To reset the tyre pressure warning light on a Volkswagen Up, first inflate the tyres to the recommended pressure, which is stated on the sticker loca…

Volkswagen Up
(2011-2024 /
MK 1)
This guide briefly explains how to access the internal fuse box of a Volkswagen Up, including how to find the diagram. First, open the driver's side …
Other guides you may be interested in |
How to Remove the Rear Seat of a Hyundai Tucson?
To remove the rear seat of a Hyundai Tucson, follow these steps. Start by moving the front seats to their most forward position to gain space. Next, locate the release lever on the underside of the rear seat, near the floor. Press this lever down while pulling the seat upwards to unlock it from the anchor pins. Once unlocked, tilt the seat upwards and forwards to remove it from its position. Repeat this process for both sides of the rear seat. Be careful of any electrical cables or components that may be connected to the seat during removal. Once the rear seat is removed, the disassembly is complete. by ScegliAuto More videos
|
|
For advertising on this site Write to info@scegliauto.com
ScegliAuto is not responsible for any inaccuracy of the data in the lists. To report any inaccuracy or your business (if you own the business in question), please write to info@scegliauto.com
Number of seconds to generate the page: 0.011
(c) ScegliAuto 2026 - info@scegliauto.com - Privacy policy VAT number: IT01247470535 |
