
|
Do it yourself
| |||
| ||||


Replace Driveshaft Gaiter on Golf 3
Model: Volkswagen Golf
Golf III, MK 3, Golf 3
- Years 1991-1997
Replacing the gaiter and joint on a Volkswagen Golf 3. Lift the vehicle to a comfortable height, undo the wheel bolts (using a socket wrench or air drill) and remove the wheel. Next, start unscrewing the brake disc bolts with a socket wrench. Remove the bolts located under the disc and completely take off the wheel hub; pull the arm around the joint with your hands. Remove the gaiter from the joint. Fit the new CV joint gaiter, then begin reassembling all parts in reverse order. Attach the joint to the hub, fit the wheel, and tighten everything.
Updated on 19 March 2026 by ScegliAuto
Video tutorial
Related tutorials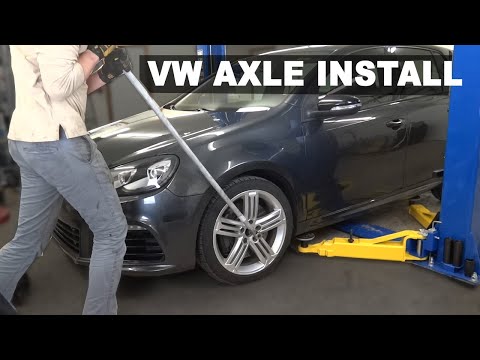
Volkswagen Golf
(2008-2012 /
MK 6, Golf VI, Golf 6, 5K1)
In this video tutorial, see how to remove and replace the front driveshaft of a sixth series Volkswagen Golf, following the instructions below. First…
Volkswagen Golf
(1997-2003 /
Golf IV, MK 4, Golf 4)
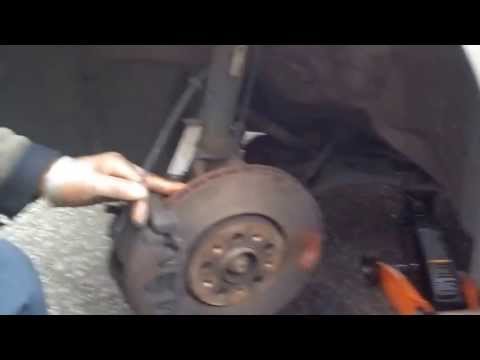
It may happen that the clips securing the half shaft boots break, leading to grease leakage and noise from the joint itself; for this reason, it is i…
Volkswagen Golf
(1997-2003 /
Golf IV, MK 4, Golf 4)
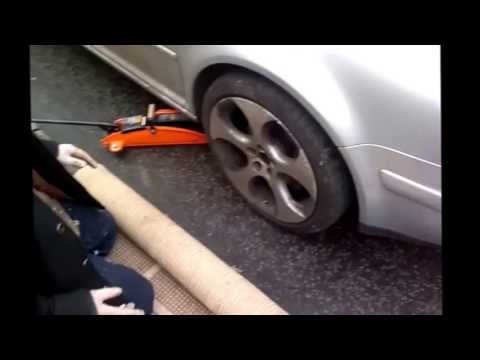
To replace the driveshaft boot, you need to remove the driveshaft to slide off the old boot and fit the new one. There is a product available called …
Other guides you may be interested in
|
Fuses Location and Diagram for the Volkswagen Crafter
In this guide, we will look at the location of the fuse boxes and how to find their diagram for the Volkswagen Crafter. First, get inside the vehicle and start by removing the plastic cover found under the steering wheel, to access the internal fuse box; you will find another fuse box in the engine compartment by removing the plastic cover located next to the battery. At this point, use the owner's manual to find the fuse diagram, which will allow you to identify and replace any blown fuses with new ones! by ScegliAuto More videos
|
|
For advertising on this site Write to info@scegliauto.com
ScegliAuto is not responsible for any inaccuracy of the data in the lists. To report any inaccuracy or your business (if you own the business in question), please write to info@scegliauto.com
Number of seconds to generate the page: 0.067
(c) ScegliAuto 2026 - info@scegliauto.com - Privacy policy VAT number: IT01247470535 |
